Looking after a spider plant isn’t difficult, in fact they are the perfect plants for beginners because they are so versatile. Spider plants are not dramatic or highly strung plants, so slight changes in your home environment don’t send this plant into a tailspin. Our spider plant care guide for beginners is here to help you navigate the joys of being a new plant parent.
If you’re still not sure, spider plants are one of the best houseplants for indoor gardening beginners, people who claim they can’t keep plants alive, and people who don’t have a lot of space. This guide is here for you every step of the way, you could even bookmark it to come back to as we cover each step of spider plant care for beginners:
- Watering Your Spider Plant
- Feeding and Fertilizing a Spider Plant
- Repotting a Spider Plant
- Pruning and Grooming Your Spider Plant
- Propagating Spider Plants
- Common Problems and How to Fix Them
- Benefits of Spider Plants
Choosing the Right Spot for Your Spider Plant
Now you’ve got your spider plant home, finding the best place to care for it is the first step in this beginners guide. You need to find the best place for it to thrive and somewhere you can get to know your plant. Here’s what to consider when choosing a spot:
Spider plant light requirements
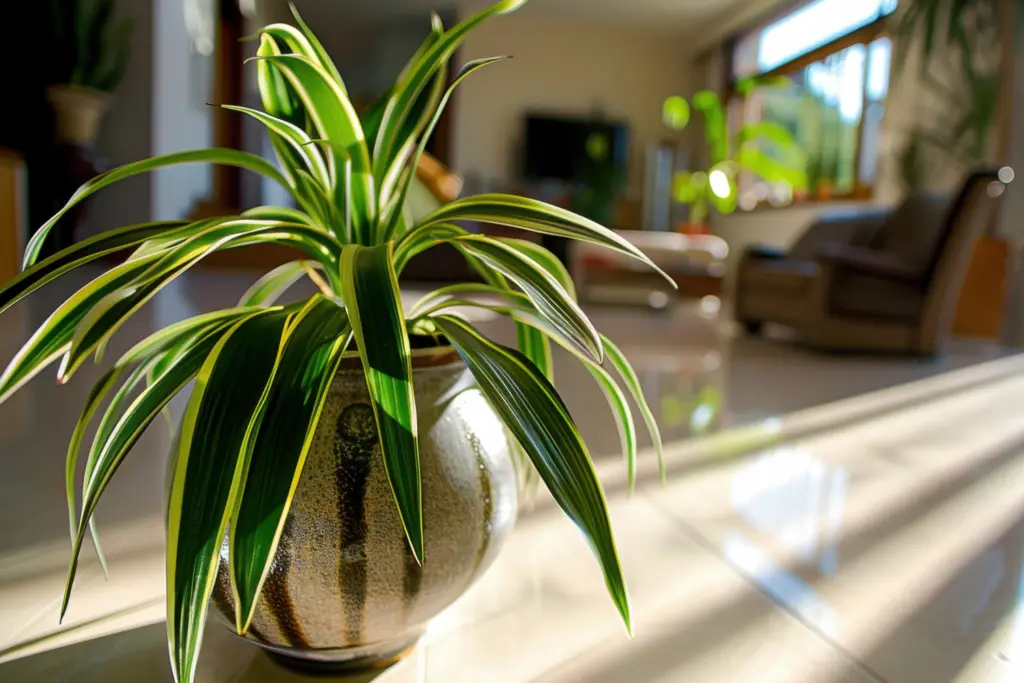
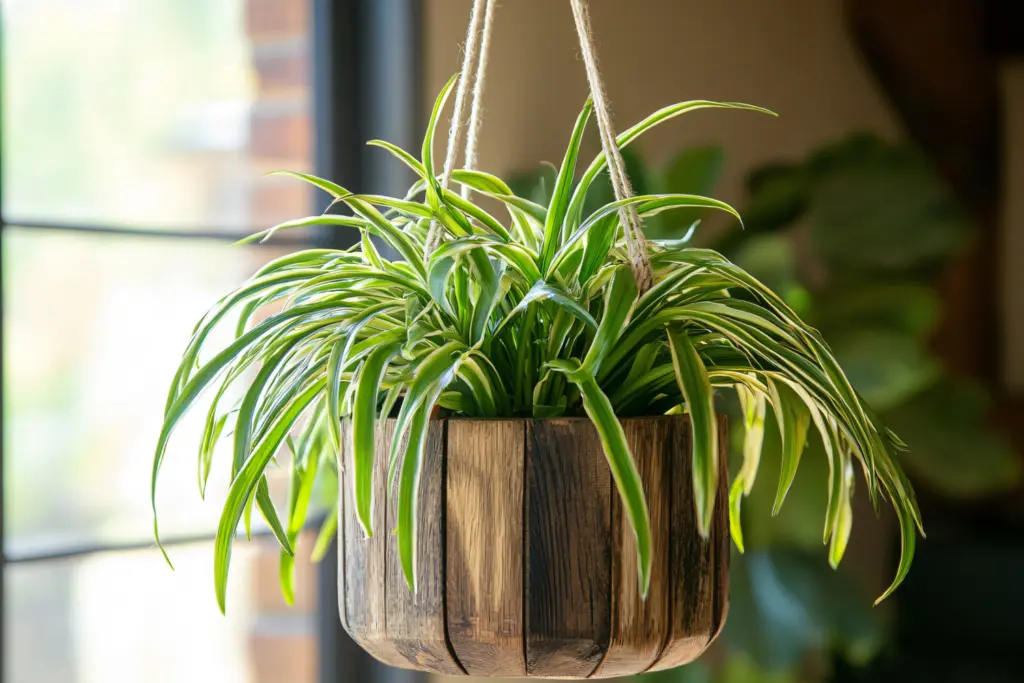
Your spider plants ideal lighting conditions are bright, but the light needs to be indirect. Near a window could be a great place, or on a windowsill that has some shelter. Your plant needs light as this is one of the main contributing factors to having a bright and bold stripe pattern on your leaves
If you’re wondering if spider plants can handle low light, the answer is yes. These versatile plants can grow in rooms with no windows, but you will find that your spider plant does not grow as quickly in these rooms. You may also notice that the colours on the leaves are less vibrant than on spider plants in brighter areas.
Ideal temperatures and humidity
Spider plants like to be indoors and thrive temperatures of between 70-90F or 15 – 24C. Rooms with humidity levels of between 40-80% will keep this plant happy and you’ll see optimal growth. They can grow pretty fast too. You sometimes feel like you can see the growth.
Best Rooms for Spider Plants
The best tip for keeping your spider plant happy in your home is to keep it out of direct sunlight, but somewhere bright and warm. A bright bathroom, a sunny kitchen windowsill, a bright corner on your office on a shelf or desk, in a conservatory, on your sideboard in the living room, the list is long. The best advice for a beginner is to try out the spot you think and keep an eye on your spider plant.
Watering Your Spider Plant
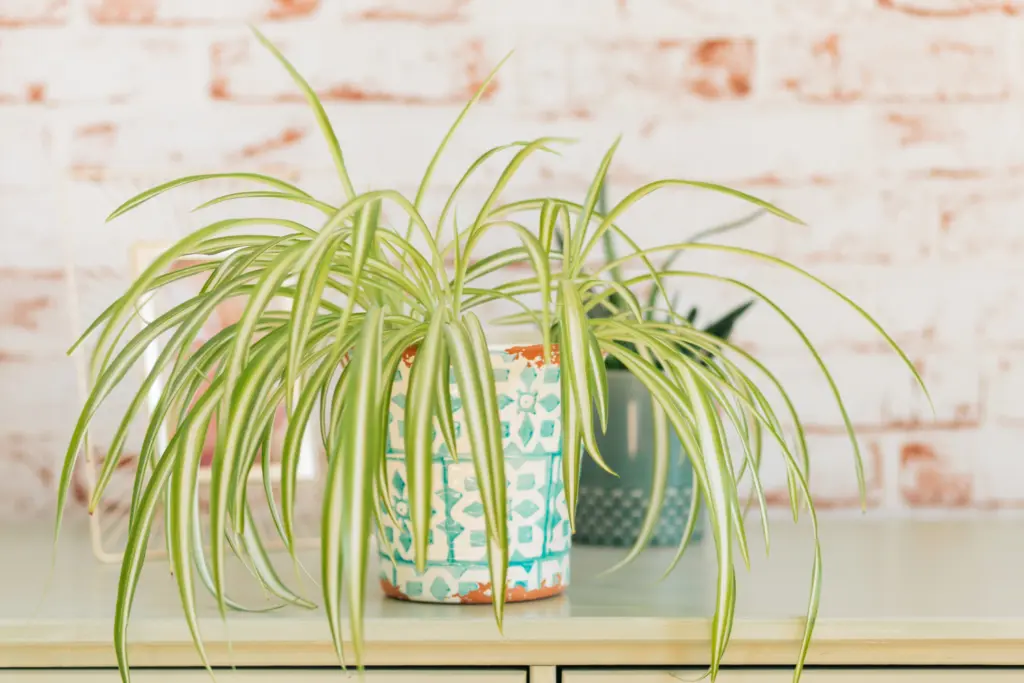
You’ll need to water your spider plant about once a week during the Fall and Winter months. In Spring and Summer, you may need to water your spider plant twice a week. This is because it is more likely to propagate at this time of year and will need more nutrients, although if your plant is happy, it can grow baby plants all year round.
The best way to water your spider plant is to mist it at the bottom and then a little around the leaves, particularly if it is in a dry area or you see signs of dehydration beginning to appear. This includes crispy brown tips.
You want to let your spider plant dry out a little between each watering as they don’t like being waterlogged. Don’t worry if you forget to water your spider plant, just be sure not to respond by tipping lots of water onto your plant, as this is bad for its health.
Signs your spider plant needs water
Spider plants are hardy enough to survive if you forget to water them. It is one of the reasons why they are great beginner friendly houseplants. Here are some of the signs that your spider plant needs water:
- The leaves will droop. It’s almost like the plant is sighing and wilting like humans do when they need a drink.
- The soil in the pot will be very dry and you’ll notice it looks dried out.
- The plants leaves will begin to lose their vibrant color if they don’t have enough to drink. This is quite a subtle change, but you’ll notice the green of the leaves seems more of a pastel shade, then after it has had water the color appears more vibrant again.
- They begin to get crispy brown tips on their leaves as the dehydration advances. The leaves curl inwards at the tip a little too if this happens.
If you witness any of these signs the solution is to bottom water your spider plant as it has become dehydrated. It needs a good drink and will take up water better from the bottom through the roots. Do not submerge your plant or leave it standing in water for hours to do this.
Simply pop your spider plant in about an inch of water for around 15 minutes. They really do not like to be waterlogged, so be careful not to get distracted and leave your plant in water for a long time.
Overwatering vs. Underwatering: How to Strike a Balance
Spider plants have juicy roots that hold onto water pretty well. That means they’re surprisingly drought-tolerant, so if you miss a watering session, they won’t hate you for it. But don’t go too far in the other direction! If the leaves start to curl or look crispy at the edges, that’s their way of saying, “Hey, I’m thirsty over here!”
The trick? Water when the top inch of soil feels dry. Stick your finger in and if it feels dry up to the first knuckle, it’s watering time. And if you’re not sure, it’s better to wait an extra day. Plants handle dryness better than drowning!
Ideal Water Types
If you’re wondering whether filtered or tap water makes a difference, it does. Spider plants are pretty chill, but they’re also a bit sensitive to chemicals like fluoride and chlorine, which are often found in tap water. Filtered water is an option that is usually gentler on your plant, especially if you live in an area with “hard” water full of minerals.
Ideally you should water your spider plant with rainwater. They do not like the fluoride in tap water which can actually turn their leaves brown at the tips, even though the plant will seem healthy, and the leaves won’t be curling inwards as it does with dehydration.
But honestly, just let tap water sit out for 24 hours to let some of the chlorine evaporate. It’s an easy way to make it more plant-friendly without the hassle.
Feeding and Fertilizing a Spider Plant
Fertilizing a spider plant is all about timing and not overdoing it. They’re not needy eaters, so consider adding fertiliser only when your spider plants starts to show signs of growing spiderettes. You’ll notice a green stem-like shoot starting to grow from the centre of the plant. This is what the spiderettes will grow from.
A balanced, all-purpose fertilizer works best, don’t pick up anything too intense. Look for a 10-10-10 or 20-20-20 blend, and dilute it to half strength before using. Like with watering, the key here is to be light-handed. Overfertilizing is a common rookie mistake and it can cause burnt leaf tips or even stunt growth.
Watch out for signs like yellow leaves or browning edges. If you see those, it might be a nutrient deficiency or if you’ve been feeding too much overfertilization. Cut back if needed and flush the soil with plain water once or twice. This is their version of a detox and can help balance out any nutrient overload.
Repotting a Spider Plant
Repotting can be intimidating, but knowing when to do it is half the battle. If you spot roots poking through the drainage holes or the plant looks way too snug in its pot, it’s time to give it some breathing room.
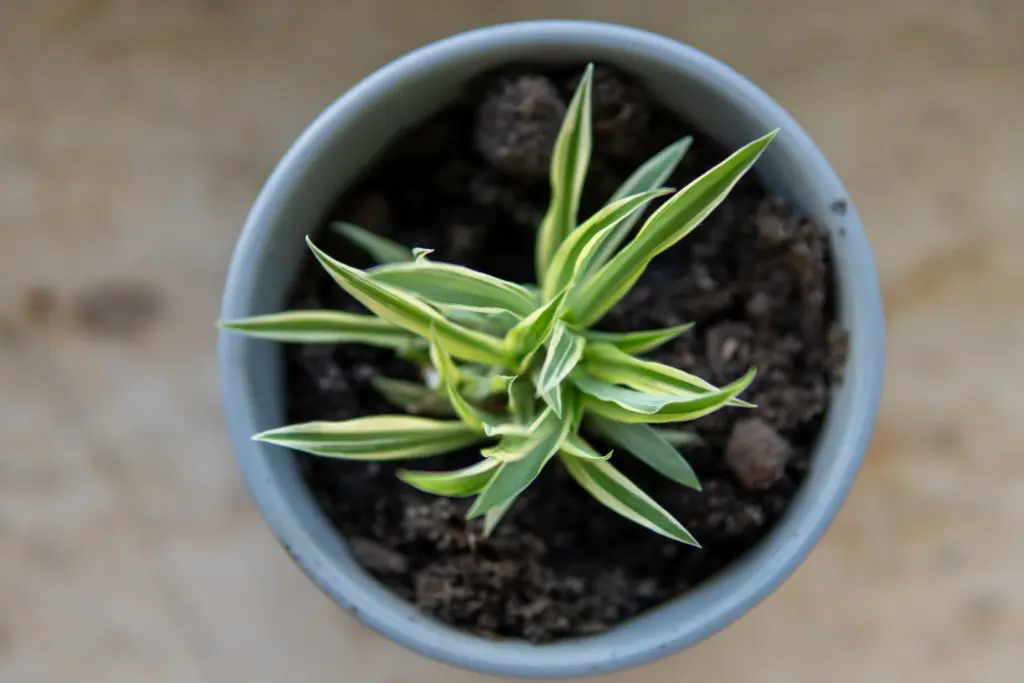
Here’s a step-by-step guide for beginners to repotting their spider plant with care:
- Choose a pot that’s about one to two inches wider than the current one. Spider plants don’t mind being a bit root-bound, so don’t go overboard on the pot size.
- Pick a well-draining soil mix as you did in the beginning. Go for a regular indoor potting mix with a bit of perlite mixed in for aeration t ogive your spider plants the best soil to thrive in.
- Gently loosen the plant from its current pot and shake off some of the old soil.
- Place it in the new pot, fill in with fresh soil, and give it a little water to help it settle.
Repotting every year works well once they are established, and they thrive with a bit of extra space.
Pruning and Grooming Your Spider Plant
Pruning may sound harsh, but it’s necessary for a healthy plant sometimes. Spider plants don’t always shed their dead leaves on their own, so giving them a trim helps. Those brown tips? Just snip them off. If you notice any leaves looking yellow or dead, cut them at the base to make room for new growth.
If you’re nervous, remember: they’re hardy little things and can take a bit of a haircut without any drama. Just avoid trimming them if you don’t need to, it’s only something you do to keep your plant healthy.
Propagating Spider Plants
Propagation is one of the best parts of being a spider plant parent, because it’s so easy! Spiderettes are the “babies” that grow off the main plant. When your plant grows them it’s a sign it is happy. As a beginner plant parent it’s also the simplest way to get new plants for free. Once they get big enough that you can see root nibs starting to form you can separate them from the spider plant and grow them into new spider plants.
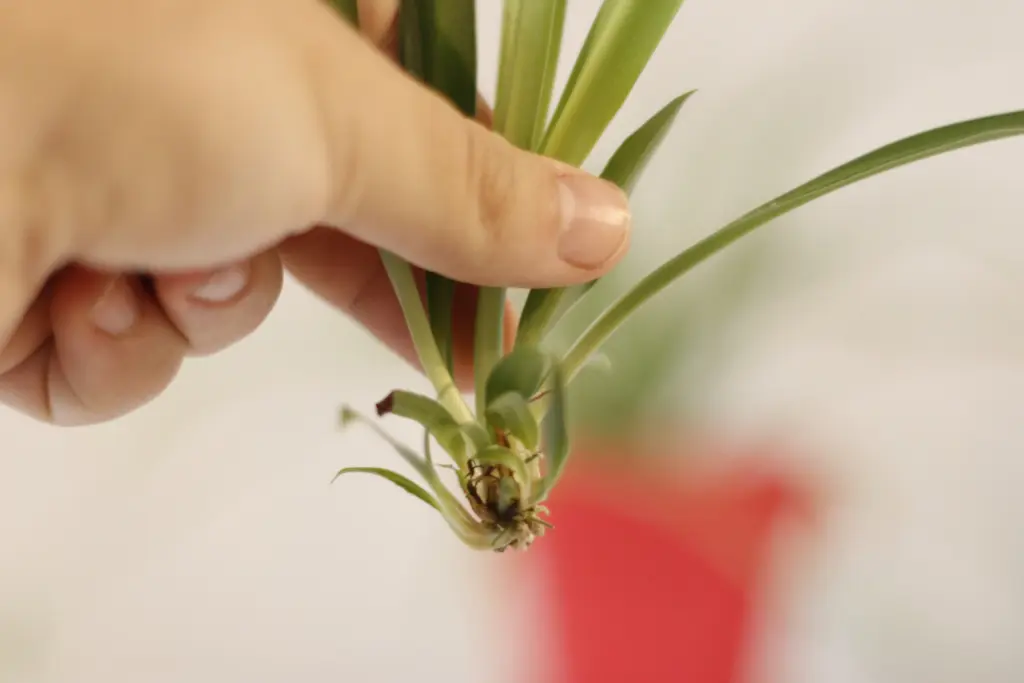
You can watch the roots grow by growing them in water which is oddly satisfying. Just snip off a baby, place the root part in a small jar of water, and watch it sprout roots within a week or two. Once the roots are an inch long, transfer it to soil, water it gently, and voilà, you’ve got a new plant.
You can also transfer them directly into a pot of soil if you wish and the roots will still take. Just be sure to water it well when you plant it, place the pot at the bottom of the other plant, (they like to grow together), and water it as you do the parent spider plant.
Common Problems and How to Fix Them
Spider plants are generally low-maintenance, but they do have their quirks. Brown leaf tips are common, often due to a watering problem. If you see yellowing leaves, it’s usually a sign of overwatering or a nutrient deficiency, so cut back on water or check your feeding schedule.
Then there are pests. If you spot spider mites or aphids, tiny bugs that love to hang out on the underside of leaves, wipe them off with a damp cloth and maybe give the plant a shower. Root rot is another big problem and is usually caused by poor drainage or overwatering.
Benefits of Spider Plants
These plants have air-purifying qualities. This means that they can absorb carbon monoxide, formaldehyde, and other toxins from the air, which is a great benefit for indoor spaces. Plus, they’re safe for pets, so you don’t have to worry about your dog or cat getting sick from nibbling on them.
Spider plants can boost mental well-being, too. They’re easy to care for, and there’s something incredibly calming about watching them grow and propagate. Even on tough days, a healthy, happy plant in the room can feel like a little win.
Conclusion
With this guide, taking care of a spider plant is stress-free for beginners, and with the right care, this low-maintenance beauty will thrive in your home. From proper watering techniques to propagating its adorable spiderettes, you now have everything you need to keep your spider plant healthy and happy. So, what are you waiting for? Start implementing these tips today and watch your spider plant flourish! If you found this guide helpful, feel free to share it with other plant lovers or dive deeper into more of our plant care resources.

