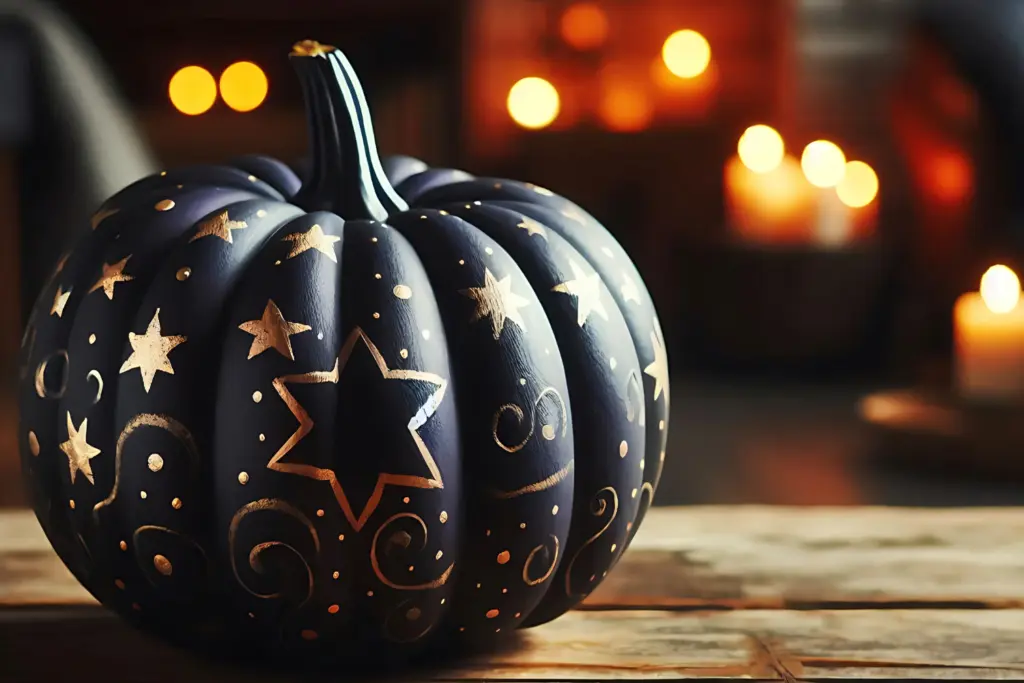
Is there anything more satisfying than seeing a pumpkin transform from under your paintbrush into something unique and beautiful? Whether you’re prepping for Halloween, Thanksgiving, or just adding a cozy autumn vibe to your home, pumpkin painting is an absolute must-try. It’s one of those activities where creativity truly knows no bounds. And pumpkin painting is not just for kids. Adults can find pumpkin painting therapeutic and the perfect way to unwind on a lazy Sunday or after a busy day at work, especially when someone has thought of some ideas to inspire your creativity.
Painting a pumpkin is also a way to add some DIY fall décor into your home without needing a huge budget. You can create designs that are as easy or as complex as you like, so it’s the perfect activity for all skill levels. You don’t need to be an artist to enjoy painting a pumpkin as an adult. So, if you’re up for something new in fall décor, or you just want to avoid pumpkin guts on Halloween this year, painting might just be your new fall tradition.
In this article we dive into the tips, techniques, and tons of fun ideas that make pumpkin painting an activity for every adult, regardless of age or artistic talent.
Contents
- Essential Supplies for Pumpkin Painting
- Step-by-Step Guide to Painting Pumpkins
- Creative Pumpkin Painting Ideas for Adults
- Pumpkin Painting Techniques for All Skill Levels
- Displaying Painted Pumpkins
- Frequently Asked Questions about Pumpkin Painting
Choosing the Right Pumpkin for Painting
You might be thinking how hard can picking a pumpkin be? But the skin of the pumpkin is your painting surface and it matters how this looks and feels. If you pick a pumpkin with a really bumpy skin there is no way you are painting a straight line or any kind of perfect geometric pattern on that pumpkin. Choosing the right pumpkin makes all the difference. If you’re planning on doing a detailed design, a smoother surface is key. Look for pie pumpkins or sugar pumpkins. They tend to be smaller, rounder, and smoother, making them much easier to paint on than the classic, deeply ridged ones you pick up at the pumpkin patch.
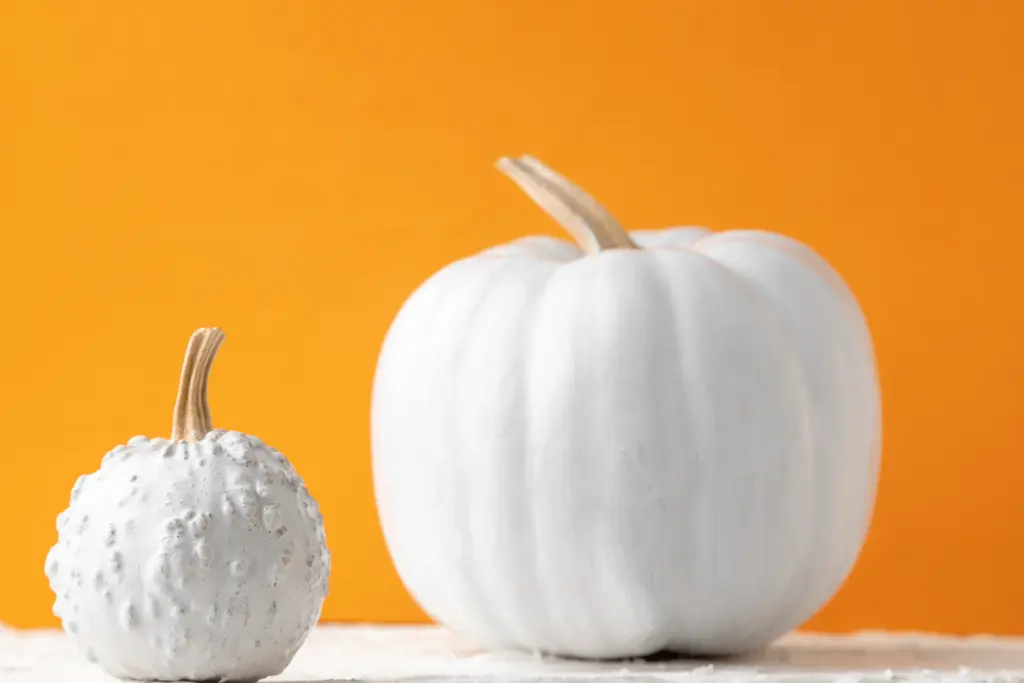
Consider the color of the pumpkin you choose too, especially if you already have a design in mind. Traditional Halloween pumpkins are usually orange, whereas a green pumpkin would be ideal for a black and dark design with vibrant color pops. A white pumpkin adds a touch of luxury and there are so many white pumpkin design ideas to choose from including beautiful flower and monochrome looks.
Avoid picking any bruised or soft pumpkins. It seems like a minor detail until you realize halfway through painting your idea the paint won’t stick to the mushy parts. A nice, firm pumpkin is exactly what you need. Not only will not it look better but it will also last longer, too. A mushy pumpkin won’t last long and will make a sticky mess wherever you display it.
Before you even think about breaking out the paints, make sure you clean your pumpkin, washing off all the dirt. You also need to make sure it is completely dry before you begin painting or your paint won’t stick to the surface. This little prep step gives you a smooth, clean surface, helping the paint adhere better.
If you’re out to make a masterpiece prime your pumpkin first. You don’t technically need it, but it makes such a difference. With a primer, you’re setting up a solid base for your paint, which means you get a more vibrant color and even application. Without it, the paint can look a bit faded, and you might end up doing several coats just to get decent coverage. A white acrylic primer works great; just apply a thin layer, let it dry, and you’re ready to start creating.
Essential Supplies for Pumpkin Painting
Your pumpkin painting essential supplies are:
- Primer
- Acrylic Paint
- Pencil or Sharpie pen (depends on design)
- Paint brushes
- Cup to wash paint brushes in and a cloth to cover your surface while you paint.
- Any accessories
Why these supplies are needed and how to use them
First off, not all paints work for painting pumpkins. Acrylic paint is by far the best as it sticks well, dries quickly, and doesn’t peel off when you set your pumpkin outside. Avoid anything too watery or thick like oil paints as they can just slide right off the skin, or if they do stick they take ages to dry. Adding primer and then your acrylic paint is the best way to paint a pumpkin in our experience.
You can pencil draw your design lightly on the primer covered pumpkin to save going freehand. Make sure your pencil is sharp, but press lightly to avoid piercing the skin. Sharpen it, squiggle on a piece of paper a few times and then draw to avoid an accidental puncture in the skin while still keeping a sharp pencil.
You can also draw in sharpie on the primer layer if you want to create images with black outlines. After you have painted you then go round the outline again to get nice clean lines. You can also decide to just draw outlines with different color sharpies for a unique design.
Good brushes help prevent streaks, so avoid using frayed and old paint brushes if you want clean and intricate designs. Use flat brushes for large areas, smaller detail brushes for precision, and sometimes even a sponge brush for soft edges. Foam brushes are also perfect for smooth, streak-free coats, especially when you’re doing backgrounds or solid colors. If you want to get professional painter on your design for perfect crisp lines painter’s tape is perfect. You can even us it to mask off areas without damaging the skin of your pumpkin.
Adding glitter, rhinestones, or even little stickers can take your pumpkin from cute to WOW. Just make sure you use a strong adhesive if you want them to stick for more than a day. Regular school glue is okay for indoor pumpkins, but if you’re displaying outside, a bit of craft glue or a hot glue gun will keep everything in place.
Step-by-Step Guide to Painting Pumpkins
Step 1: Prep your area
Setting up your workspace is, hands down, one of the most important things you can do. Always lay down an old tablecloth or newspaper, set out your brushes and paints, and keep paper towels on hand for quick clean-ups. This way, you won’t stress about spills or stray paint marks, and it makes the whole experience more enjoyable. There’s nothing worse than destroying your current homeware when making new décor.
Step 2: Base coat
Now, when it comes to actually painting, start with a base coat using your primer. Don’t get tempted to miss this step if you’ve chosen a dark-colored pumpkin. A white base coat evens out the color and makes any design pop. Just a quick coat of white or even your lightest color of paint can make a massive difference to the final look of your design.
Step 3: Your design
Draw your design on after the base coat is dry. Build your design up keeping your paint layers thin as thick layers take ages to dry and can end up looking lumpy. If you want a bright, even color, it’s better to build up with thin coats than try to glob it on all at once. Let each layer dry fully before adding more, especially if you’re doing detail work or using different colors.
Creative Pumpkin Painting Ideas for Adults
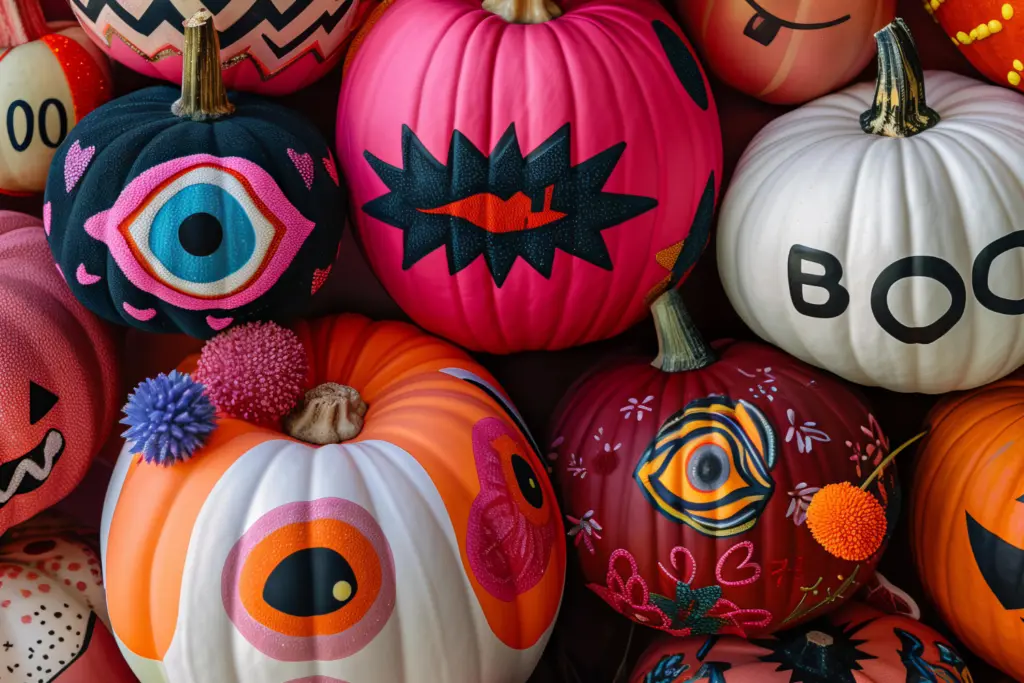
There are so many ideas when it comes to painting pumpkins. You can paint scary pumpkin designs if you are looking for a specific Halloween design, cute ideas, phrases, the options are literally endless. Here are just a few to inspire your inner creativity.
Classic fall designs
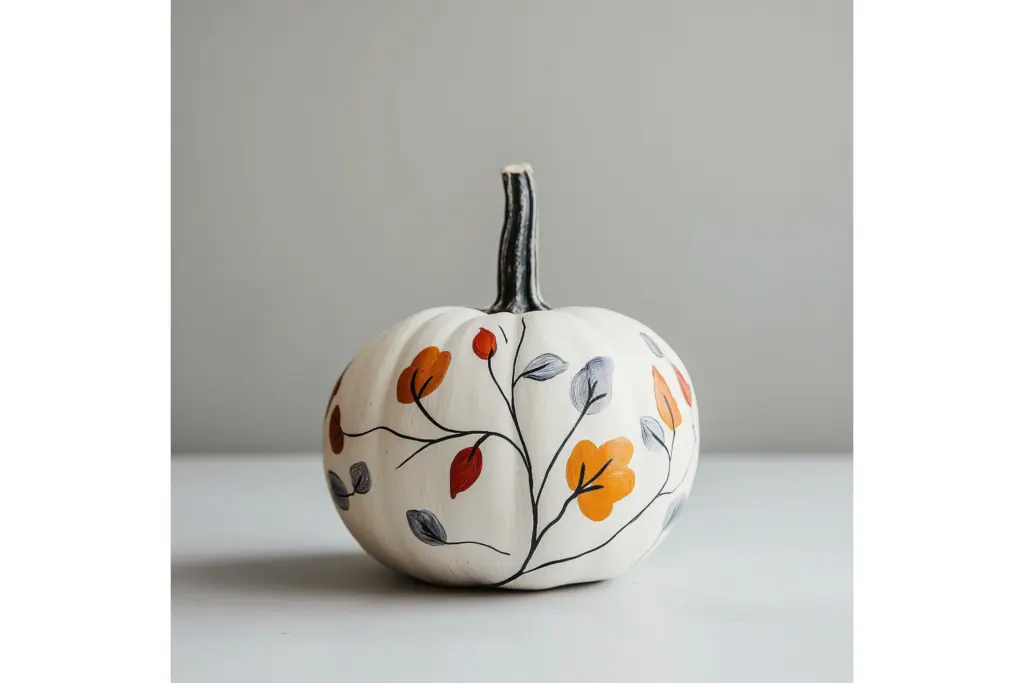
Using classic fall colors like rusty oranges, deep reds, and golden yellows in your design help any idea to give off that fall feel. Even simple designs with leaves and little flowers can look elegant and work with other fall décor.
- Floral Painted Pumpkins
Try painting delicate flowers, like roses, sunflowers, or autumn wildflowers, all over your pumpkin. Go with warm, autumn colors, or mix it up with soft pastel shades of these colors for a more romantic vibe. - Nature-Inspired Botanical Pumpkins
Paint soft, earthy tones and add leaves, branches, and even fern designs for a nature-inspired look. Use muted greens, browns, and soft yellows to match a natural fall aesthetic. - Rustic Wood Grain Pumpkins
Paint your pumpkin to resemble wood grain. Use shades of brown and beige, blending softly to mimic the look of natural wood then add the fine lines with a black fine line sharpie. It’s a beautiful and unique option that pairs well with rustic fall décor.
Modern designs to match modern décor
If you love the modern look, try geometric designs or a minimalist color block look. The great thing about simple, modern designs is they’re super easy to do, but they look so polished and intentional.
- Chalkboard Pumpkins
Coat your pumpkin in chalkboard paint, then use chalk to doodle messages, quotes, or seasonal greetings. You can change the designs whenever you want, and it’s a great option if you’re looking for interactive décor. - Black and White Minimalist Pumpkins
Paint simple, abstract designs on your pumpkin using only black and white paint. Try stripes, dots, or bold lines for a modern, minimalist look. This monochrome palette adds a chic and trendy vibe to any room.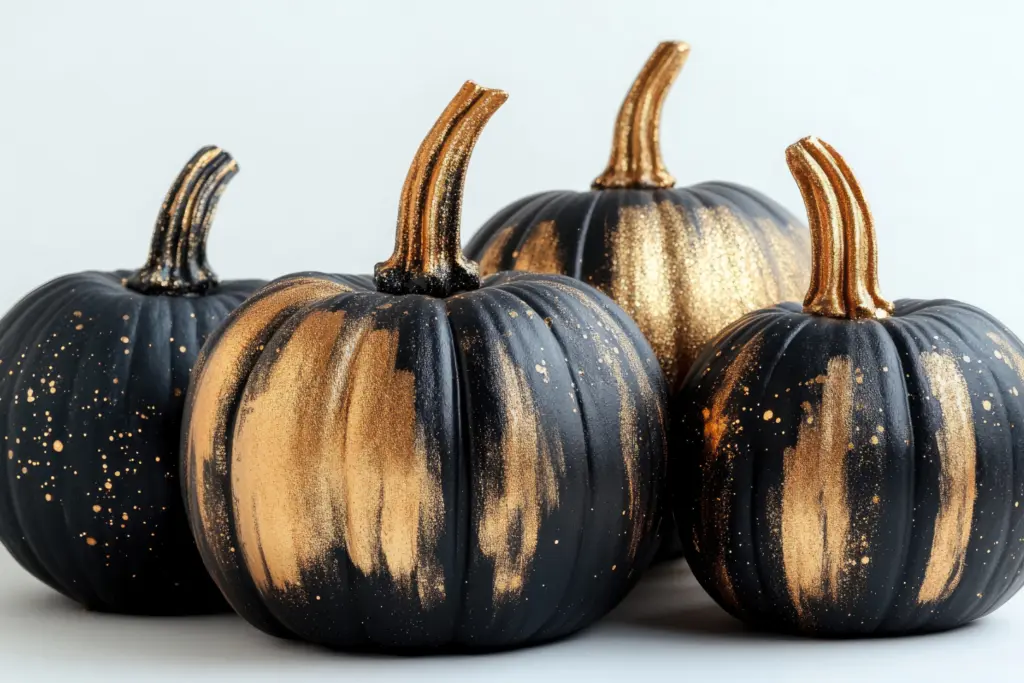
- Metallic Glam Pumpkins
Add a touch of elegance with metallic paints! Use gold, silver, or copper paint for a classy, high-gloss finish. Try a full metallic pumpkin or go for geometric shapes and stripes for a subtle shine. - Marble Effect Pumpkins
Create a stunning marble effect by swirling white, black, and gray paint together. Simply add a few drops of each color and swirl with a brush or a toothpick. Finish with a glossy sealant for a polished marble look.
Colorful pumpkin designs
- Boho Mandala Patterns
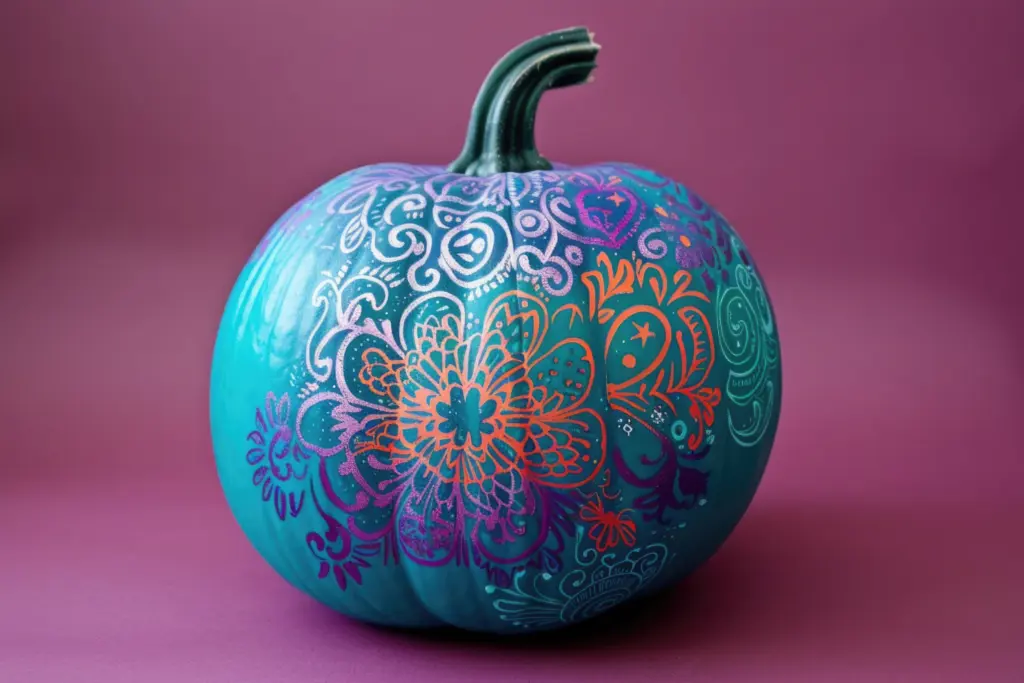
Use fine-tipped paint pens or brushes to create intricate mandala patterns in earthy colors. Layer deep reds, burnt oranges, and creams for a cozy boho look that works perfectly with fall décor. - Abstract Art Pumpkins
Embrace your inner artist by going abstract! Swirl and splash different colors onto your pumpkin in an artsy, Pollock-inspired way. No rules here—just let your creativity flow! - Ombre Gradient Pumpkins
For a stylish gradient effect, blend your favorite fall colors (like orange, red, and yellow) from top to bottom. This creates a subtle yet beautiful look that’s simple but eye-catching.
Themed Ideas for your pumpkin
Whether you love to read, you’re into the star or Day of the Dead, here are just a few ideas to help you realise you really can paint a pumpkin to match your hobbies, interests, and personality.
- Galaxy Pumpkins
Make your pumpkin look like a starry night sky! Start with a black base, then sponge on shades of dark blue, purple, and a bit of white for stars and clouds. Finish it off with tiny dots of white paint to create a star effect. - Book Page Pumpkins
Paint your pumpkin in a classic bookish theme by using script and quote designs. Choose favorite lines from classic literature, or hand-paint snippets from a poem. Stick to muted colors for a vintage, literary feel. - Wine-Inspired Grapevine Pumpkins
Paint grapevines and wine glasses on your pumpkin for a wine-themed decoration. Use rich purples, greens, and browns, and add a glossy finish for a sophisticated look. Perfect for wine lovers! - Buffalo Plaid Pumpkins
Recreate the look of cozy fall plaid on your pumpkin by painting buffalo checks in classic black and white or red and black. It’s easier than it looks and gives a rustic charm that’s great for farmhouse décor.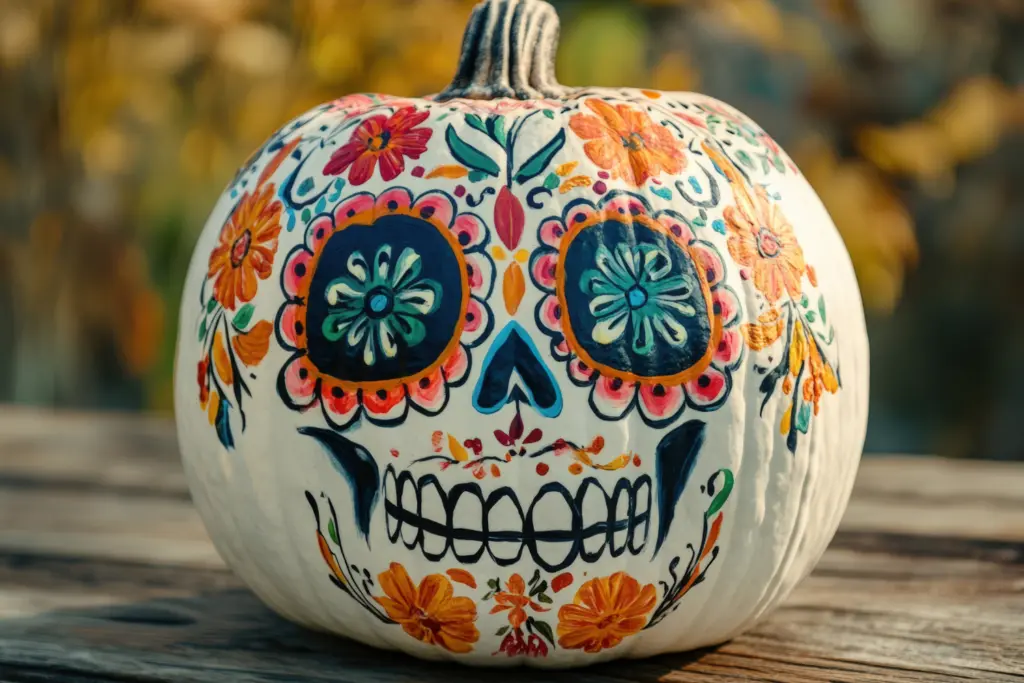
- Day of the Dead Sugar Skull Pumpkins
Pay homage to Día de los Muertos with vibrant, intricate sugar skull designs. Use a white base and then paint bright, bold patterns with floral, heart, and skull motifs. Perfect for a vibrant, colorful fall look.
Pumpkin Painting Techniques for All Skill Levels
Pumpkin painting can be as simple or as intricate as you want and your skill level shouldn’t affect what you choose to paint. Our top two techniques to help anyone get a perfect look no matter their skill level include:
- Using painter’s tape to mask off area and create really clean lines without much effort. If you’re a bit more comfortable, try blending colors for a gradient effect. It’s surprisingly easy and looks beautiful, especially in sunset or fall colors. You can then add beads for a really fancy looking pumpkin design.
- Stencilling with sponges or even natural elements is a great way to get intricate images. Simply grab a stencil and paint on your design.
Displaying Painted Pumpkins
When it comes to displaying painted pumpkins, you’ve got options and lots of them. Where you place your pumpkin can totally change how it looks and how long it lasts. Indoors or outdoors, each setting has its quirks.
For indoor displays, consider setting up a “pumpkin family” on the mantel or as a centerpiece on the dining table. Grouping painted pumpkins with other fall decorations like think candles, leaves, and mini scarecrows makes them pop even more. With some LED candles you can make a display that feels cozy and is festive not just for Halloween and Thanksgiving, it works all fall. Just remember: if your painted pumpkins are close to food or where people are eating, avoid scented or glitter paints since those can get a bit overwhelming for a while.
Outdoor displays are where things can get a little tricky. It is possible that morning dew or rain can cause the paint to run. If you’re displaying outside, use a waterproof sealant. A quick spray with clear acrylic sealant works wonders and keeps your hard work intact, even on a rainy day. Another thing to keep in mind is sunlight. Those beautiful colors can fade fast if your pumpkin is exposed all day. Place them where they’ll get a bit of shade, like under an awning or next to a potted plant.
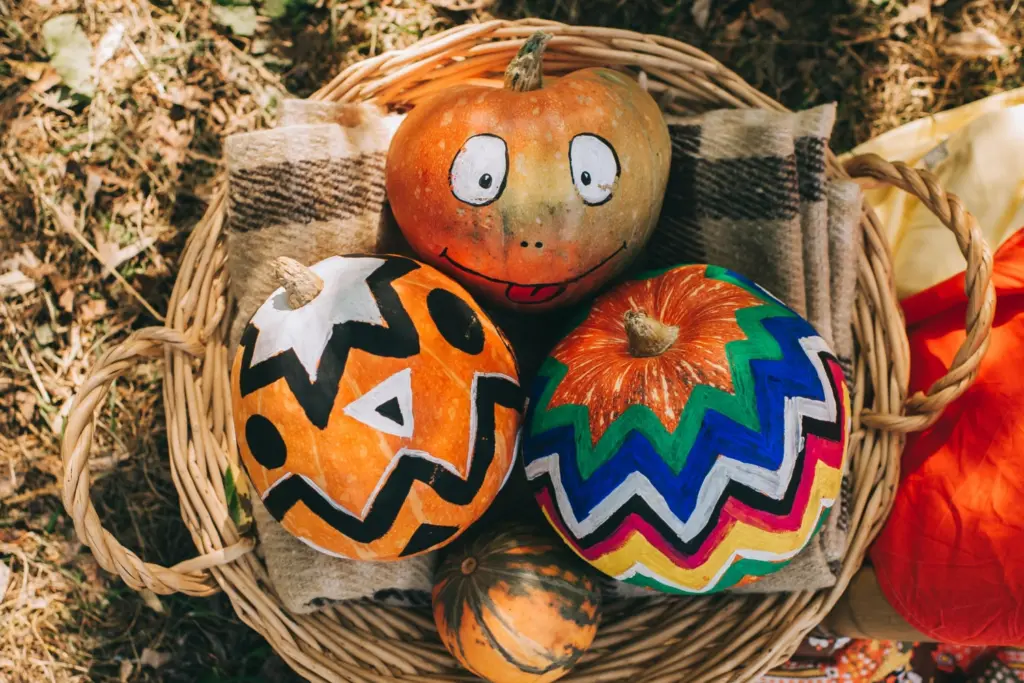
Now, if you really want your pumpkins to stand out, get creative with height and placement. Stack a few in a basket, add them to a plant pot, or prop them up on some hay bales. The variety adds so much to the look.
Frequently Asked Questions about Pumpkin Painting
Can you wash painted pumpkins?
Surprisingly, yes, but with caution. Painted pumpkins aren’t meant for a full-on scrub, but if you notice dust or a little dirt, a gentle wipe with a damp cloth should be just fine if you have applied sealant. Just avoid too much water, especially if you’re using non-waterproof paints.
How long do painted pumpkins last compared to carved ones?
A painted pumpkin can easily last a month or even two if you keep it in a cool, dry place. In contrast, carved pumpkins start looking pretty gnarly after about a week. That’s why painting is so great, it keeps your fall décor looking fresh and vibrant all season long.
What’s the best way to prevent paint from peeling?
If you’re displaying your pumpkins outside, a sealant is essential. A clear acrylic spray does the trick, and it’s easy to apply. Just make sure to give it a couple of thin coats for the best results.
Can I repaint a pumpkin if I make a mistake?
The beauty of pumpkin painting is that you can always layer on more paint. Just wait for each layer to dry before adding more, and you’re good to go. And if all else fails, primer will always give you a fresh start.
Conclusion
Pumpkin painting isn’t just a creative outlet; it’s a chance to make fall décor that’s personal, lasting, and loads of fun. From selecting the perfect pumpkin to choosing a display spot that shows off all your hard work, every part of the process has its charm. There’s no “right” way to paint a pumpkin. Go simple, go spooky, it’s about whatever brings you joy. So grab your paintbrush, pick a design that speaks to you, and dive in.

