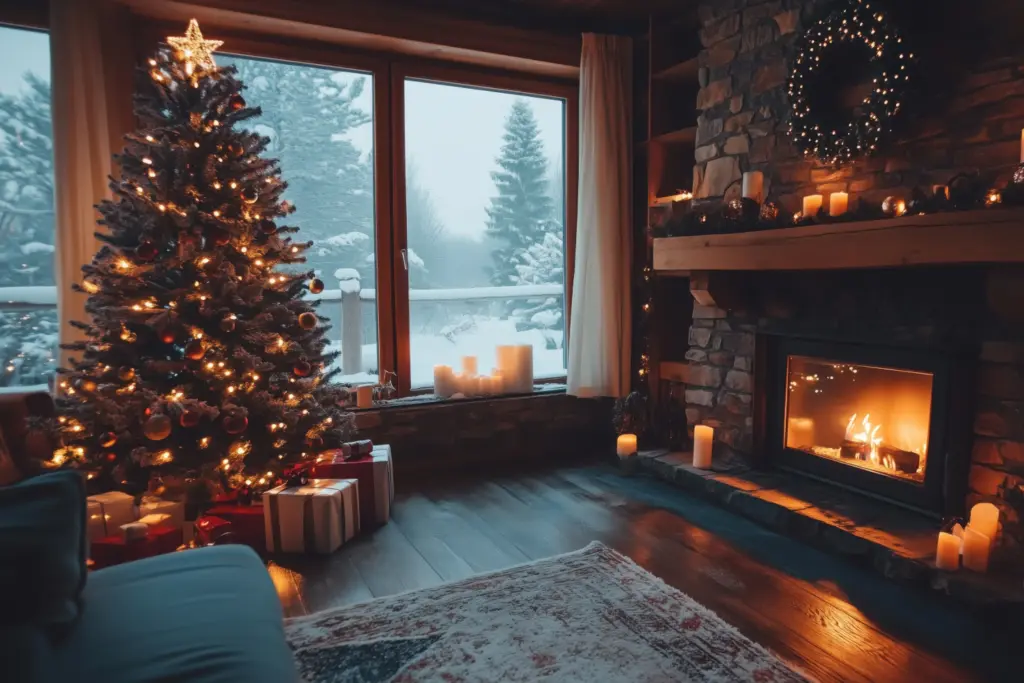
Pre-lit trees have become the go-to for many holiday decorators because they save time, reduce the hassle of stringing lights, and are usually more durable than real trees. But to make them look really good you need a few tricks up your sleeve, including knowing how to set up your pre lit Christmas tree like a pro. That way you get the best base for whatever look you choose to style your tree with.
This guide will walk you through all the steps, from choosing the perfect spot for your tree to what to do when the pesky lights won’t turn on. These tips will help you create a magical display that shines bright for all to see.
Choosing the Right Location for Your Pre-Lit Christmas Tree
Finding the right spot for your Christmas tree can be tricky, especially when you buy a pre-lit tree and your need power to make it work. Where you place your pre-lit tree makes a big difference, not just for the tree itself but for the whole vibe of your home during the holidays.
First, you want a location that’s safe and visible. The best place for a pre-lit tree is somewhere that it won’t be constantly bumped or crowded, but where it can still be admired by anyone walking through the room.
Think about where your power outlets are. Extension cords are an option, but they’re honestly a bit of a hassle. Try to place your tree near an outlet so you don’t have to worry about people tripping over cords.
Positioning your tree by a window not only lets passers-by enjoy your handiwork, but it also gives the room a warm, inviting glow at night. It’s a classic holiday look, and pre-lit trees work perfectly in this space since you don’t have to worry about hiding cords, people brushing by, or dealing with extra lights in your window.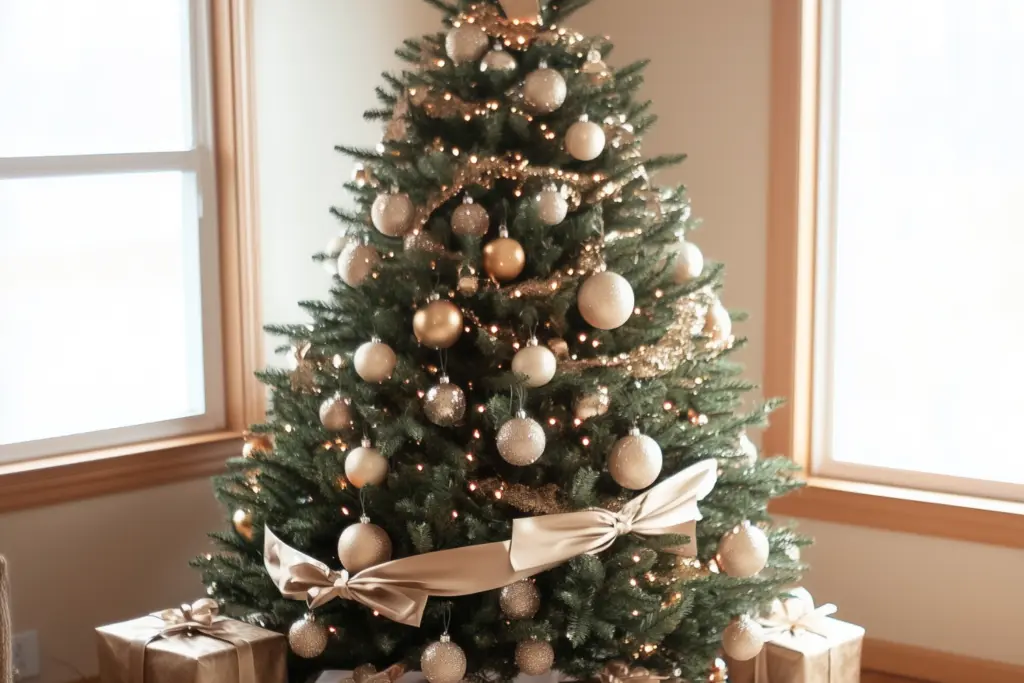
Lastly, consider space underneath your pre lit tree. You need to be able to get cord underneath and leave space around it so it isn’t pulled by presents or décor under the tree. If your tree is right against a wall or crammed into a corner, it can make it hard to put gifts underneath as you need to leave some space. Aim for a spot that gives you a bit of room on all sides.
Unpacking and Inspecting Your Pre-Lit Tree
Once you’ve picked the perfect spot, it’s time to unpack your pre lit tree. Give yourself time and unpack each section carefully. There are wires and lights on this kind of artificial tree, so rough and rushed handling can lead to problems.
The first thing is to inspect each section as you pull it out. Check for any bent or broken branches, and don’t forget to look at the lights. Give each section a little shake to make sure the lights are attached securely. It’s also smart to check the fuses right out of the box. Most pre-lit trees come with extra fuses just in case, but it’s easier to handle this now than when you’ve got the whole tree assembled.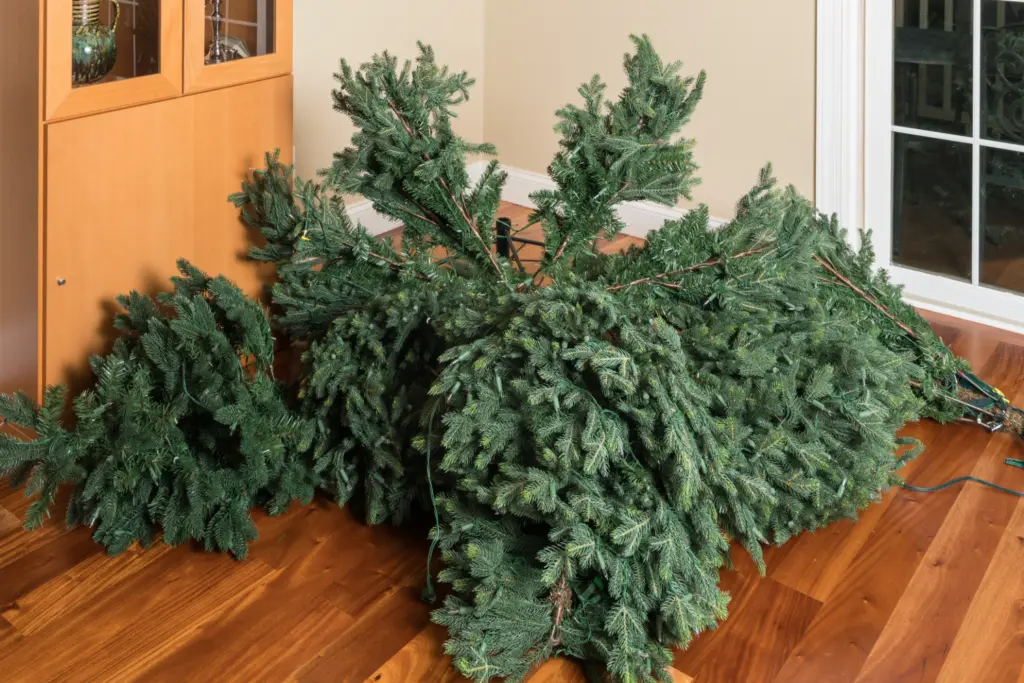
Another thing to do is lay out all the sections in the order they’ll go up. You’ll usually have three or four sections, depending on the height of your tree. Having them lined up in the right order makes the assembly process smoother and saves you from scrambling later. And if the sections aren’t marked, just give a quick glance at the thickness and size. Typically, the bottom section is the largest, and it goes up from there.
Once you’ve inspected everything and laid it out, you’re ready to start assembling.
Assembling the Tree Sections
Now comes the part where you actually get to put the tree together. Start with the bottom section and attach it securely to the stand. Make sure your surface is flat so you don’t find you have a wobbly tree at the end.
Most pre-lit trees have a pretty simple assembly process. You’ll connect each section by stacking them one on top of the other. But take your time when you’re locking each section into place. Give each section a gentle push down to make sure it’s secure. And don’t forget to rotate each section a bit to align the branches. This gives the tree a nice, even look and helps fill out any gaps.
One tricky part of assembling a pre-lit tree is the light connections. Many trees these days have quick-connect technology, which is awesome because the lights connect automatically as you stack the sections. But if yours doesn’t have this feature, you’ll need to find each cord and plug them in manually. It can be a little frustrating, especially if the plugs are hard to locate.
Connecting and Testing the Lights
The next step is to connect the lights and make sure everything looks right. Connect the lights one section at a time. Make sure each plug is secure, and give it a little test before moving on to the next section. This way, if one section doesn’t light up, you can easily find the problem before you’ve set up the whole tree and have no idea where to start to work out why it isn’t lighting.
Sometimes, you’ll have one bulb that’s out, causing a whole section to go dark. Most trees come with replacement bulbs, so be sure to swap out any broken ones. If all else fails, check the fuses on the tree.
Once everything’s connected and lit, step back and take a look. Adjust any lights that seem too bunched up or dim and fluff your tree branches to get a natural look. The goal is an even glow that fills the tree without any dark spots on branches that look natural.
Decorating Tips for a Pre-Lit Christmas Tree
Now the tree’s up, fluffed, and glowing, it’s time to decorate.
With a pre-lit tree, the trick is finding that sweet spot where the lights shine through, and the decorations add personality without overcrowding. Less is often more if you looking to get the most out of a festive glow, and balancing everything makes the tree look more elegant.
Step 1: Add Ribbons or Garlands
First, start with ribbons or garlands, before getting into the smaller ornaments. Wrap the ribbon loosely around the tree in a sort of spiral pattern, letting it flow naturally instead of wrapping it tight like a candy cane. You can twist the ribbon here and there to give it a little extra flair, too.
Another trick is to weave the ribbon in and out of the branches, making it look like it’s part of the tree itself. If you’re using garlands, do the same thing. Place them at different depths so they don’t sit flat on the branches. It’s amazing how much depth this adds and the character and warmth this adds to your tree.
Step 2: Tree Topper
Add this now, so you don’t knock any ornaments off reaching to the top. It may seem an unusual move, but knocking things off as you add the topper is frustrating. Whether you choose a star, an angel, or something more unique, placing this after your ribbon and lights is the best way to decorate. Just be sure to fix your topper in place.
Step 3: Ornaments
Start with your biggest ornaments and place them first. These larger pieces act as anchors on your tree, filling in some space and giving it structure. Go for a few standout pieces in key spots, then scatter smaller ornaments around them. Mix in some unique shapes or textures for variety. Tuck tiny ornaments deep within the branches. They don’t always stand out at first glance, but they add layers of interest and make the tree look more natural.
To make your tree personal, add special family ornaments, like ones you’ve collected over the years or ones the kids have made in school. When you’re done, take a step back and look at the whole tree. Adjust any areas that seem sparse or too heavy with ornaments. Decorating is all about finding that balance, letting the lights shine through, and adding personal touches that make the tree uniquely yours.
When it’s finally ready, turn off the room lights, plug in the tree, and bask in the glow.
Maintaining and Storing Your Pre-Lit Tree After the Holidays
When the holiday season’s over, and it’s time to take down the decorations, you want to make sure your pre-lit Christmas tree is stored safely to last for years to come. With a little care, you can keep your tree looking fresh season after season.
First, start by taking off all the ornaments, garlands, and ribbons. It’s easy to yank things off in a hurry, especially if you’re a little worn out from the holidays, but tugging on branches can weaken them over time. Be gentle. Wrap your ornaments and delicate decorations individually to keep everything safe and prevent anything getting crushed. Store your ornaments in labelled boxes so you can easily find everything next year.
Once the ornaments are off, unplug the lights carefully and check them one last time. Even if everything worked perfectly this season, bulbs can burn out in storage. If you spot a burnt-out bulb, go ahead and replace it now. It’s so much easier to do now than waiting until next year and getting frustrated when you put the tree up.
When you’re ready to disassemble, start at the top and work your way down. As you remove each section, gently fold in the branches to make them more compact. Tie the branches loosely with a piece of twine or ribbon. This keeps everything neat without damaging the branches.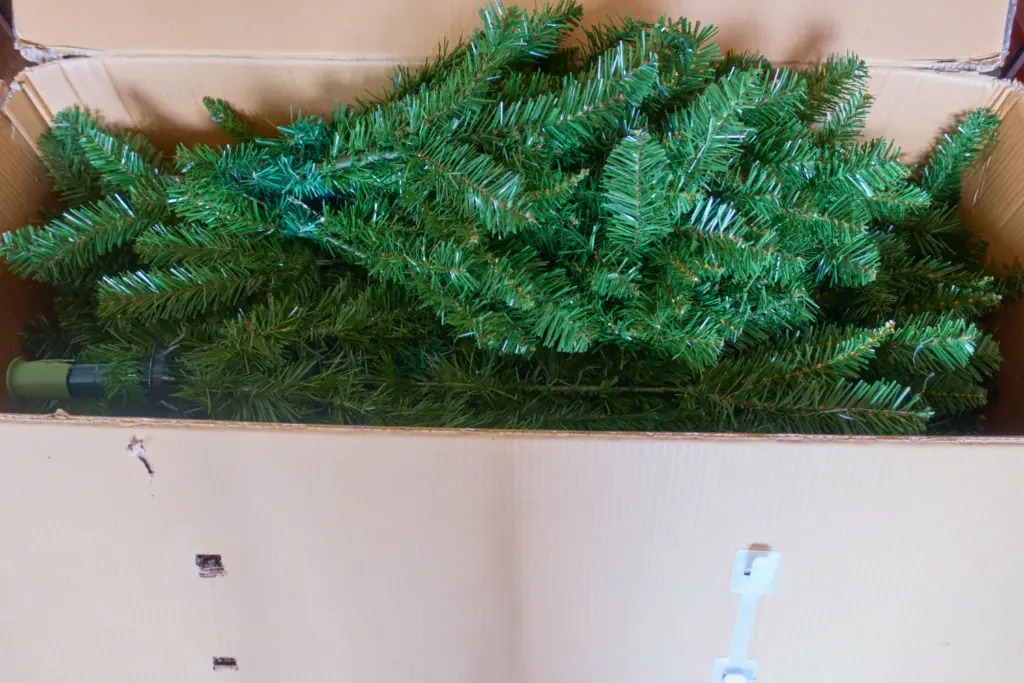
Once the tree is disassembled, pack it into a sturdy box. Using a plastic box protects the tree and keeps it free from dust and moisture. If you don’t have a storage container, try covering the tree with a garbage bag to keep it clean.
Finally, store your tree in a cool, dry place. Attics and basements are fine if they’re not too humid. A closet works great, too, if you have the space. And remember to keep all the replacement bulbs and fuses with the tree so you’re not hunting them down next holiday season.
Conclusion
Setting up and taking down a pre-lit Christmas tree is a bit of a process, but when done right, it makes the set-up of a pre-lit tree easy. A well-placed, beautifully decorated tree becomes the heart of your holiday decor, filling your space with warmth and joy.
The key is to take your time and make it your own. Every tree can tell a story, so choose to decorate yours to tell your story. So go set up your tree to tell your Christmas story. If you’re looking for ideas on how to decorate your Christmas tree why not check out our deer Christmas tree ideas. Or find some inspiration with our blue Christmas tree ideas.

