If you’re venturing into the world of indoor gardening, you may well be thinking about how to grow mint from seed indoors. And why wouldn’t you? It’s a beautiful, versatile, and fragrant plant you can put in your food and drink recipes. Growing mint indoor from seed is a budget friendly and mindful way to grow this herb in your home. Whether you live in an apartment with limited space, or you enjoy exploring all that indoor gardening has to offer mint is a great herb to grow from seed.
If it’s your first time growing mint from seed, this guide will help you through every step.
- Choosing your seeds
- Planting Mint Seeds Indoors: Step-by-Step
- Growing
- Care and keeping your mint healthy
Best Variety of Mint to Grow Indoors
First things first, pick the variety of mint that you would like to grow. Most varieties of mint grow well indoors and will thrive in an indoor garden in the right conditions.
Peppermint (Mentha piperita L.)
Best kept on a windowsill in a southern location, peppermint thrives in direct sunlight and will need at least 4 hours of sunlight a day for the best growth results. With dark green pointed leaves, this is one of the best varieties of mint for beginners to grow. It’s also a great addition to drinks, including herbal tea.
Spearmint (Mentha spicata)
It’s the flavour associated with toothpaste, chewing gum and mint confectionary. This variety of mint likes to be kept in indoor conditions where it is not in direct sunlight. I t prefers a lightly shaded area and has a lighter and wider green leaf than the peppermint but is still a versatile herb to grow from seed.
Applemint (Mentha Rotundifolia)
Perfect for planting in small spaces at home. This mint has a compact root system in comparison to spearmint and peppermint. It has lovely green almost round leaves and a strong scent. It’s easy to grow and is versatile, so perfect for beginners.
Mint variety you cannot grow using seed
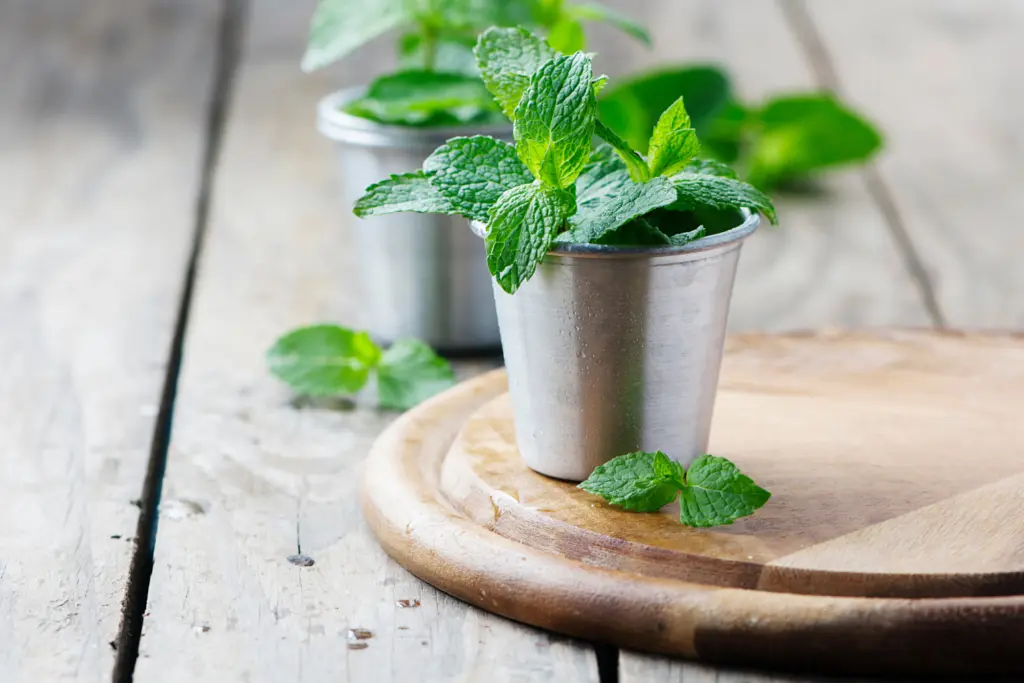
You cannot grow other types of mint like chocolate mint and pineapple mint from seed, the flavour is achieved through propagation.
How to choose seeds
Working out how to grow mint from the best seed indoors as a beginner can be a bit overwhelming as there are so many options on the market. Going for an organic seed from a reputable brand is our advice.
Mint seeds also need to be planted individually as they are quite aggressive as they grow. They like to take up all the space in a pot, so when growing any variety of mint from seed indoors you don’t need to buy a value pack of seeds. A pack of 10 seeds will give you ten individual plants if they all grow. It’s one of the reasons why mint is great for small apartment budget indoor gardening, because one seed will fill a pot in no time at all.
Planting Mint Seeds Indoors: Step-by-Step Guide
Follow this easy step-by-step- guide to find out just how easy it is to grow mint from seed indoors.
What you need to plant mint seed indoors
- Biodegradable seed pots or trays (about 3 inches deep)
- Mint seeds
- Potting mix
- Optional: heat mat
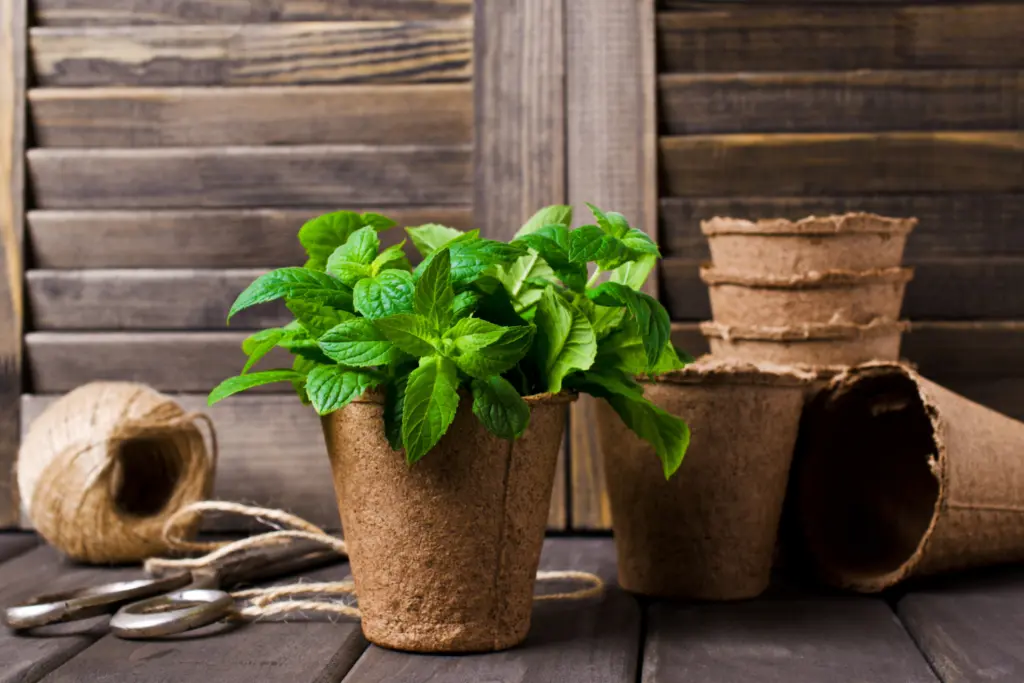
Germination, the process of planting your seeds and getting them to start the growing process turning from a seed to a plant. Start with a biodegradable seed tray or pot, so you can simply plant the whole thing in a bigger pot when the seed starts growing. It’s much easier and kinder to the environment as the first pot breaks down in the new pot at the second stage.
The first step in answering how to grow mint from seed indoors after you have your seed is to get a good seed staring mix. It is essential to choose on that is light and drains well to help the seed take in the soil. Do not use regular soil from the garden as it will likely suffocate your mint seed.
Planting
This is one of the easiest planting processes for beginners planting mint seeds to grow indoors.
Step 1
Make sure your pots have drainage holes, or you’ll end up with soggy soil, which mint hates. Add the potting mix leaving a gap of about 2cm at the top of the pot.
Step 2
Place the seed on the top of the soil and lightly press them down. Mint seeds are tiny, so don’t bury them too deep. Consider just sprinkling a tiny bit of soil over the top of the seed. They should barely be covered as mint seeds need light to grow.
Step 3
After that, water the soil gently using a spray bottle to avoid moving the seeds. After watering, cover the pots / try with a humidity dome to keep things moist. Mint seeds need a warm, humid environment to germinate, so don’t skip this step. Place your tray in a warm spot, ideally around 70°F (21°C). If you’ve got a sunny windowsill, that works great. If you’ve got low light conditions at home, a grow light or heating mat can help.
Germination – a waiting game
It can take anywhere from 10 to 15 days for mint seeds to sprout. Try and resist the urge to mess with the soil or overwater during this time.
Why won’t my mint seed grow?
Over watering or underwatering is often the cause when your seeds won’t grow. You need the soil to be moist, but not soaking. It also needs to be warm and there needs to be light. Mint seeds need light to grow, so make sure your seed is somewhere where it is getting plenty of direct sunlight. If you don’t have direct natural light, try using a grow light in a lamp for around 6 hours a day.
Providing the Ideal Growing Conditions for Mint Indoors
Mint is a pretty hardy plant once it is sprouting and growing, but there are a few things you’ve got to get right if you want it to continue to thrive and grow indoors.
Best light conditions for mint
Mint needs quite a bit of light to grow. Lack of light encourages your mint to grow leggy, and fewer leaves as it reaches out to find more light. At least 6 to 8 hours of direct sunlight a day is ideal. If you don’t have a windowsill with that much light, don’t despair mint can grom indoors with artificial light. That’s why it’s also great to grow from seed in low light conditions. A full-spectrum LED grow light directly above your mint as it grows indoors will provide the right amount of light for your mint to grow indoors.

Best Temperature for Mint Indoors
Mint likes light and warmth but dislikes extreme heat and temperature fluctuations. It won’t do well placed by a radiator or other heat source. This includes south facing windows that get hot in Spring and Summer. Mint likes it warm but not too hot. Ideally, you want to keep the temperature between 65°F and 75°F (18°C to 24°C). If it gets too cold, the plant’s growth will slow down, and if it gets too hot, the leaves might start wilting or dropping off. They like a spot where the temperature is consistent.
How often to water mint indoors
Mint likes to stay moist but not soggy so water once to twice a week. You want to water your mint when the top inch of soil feels dry. Stick your finger in the soil to check. If it’s dry, give it a drink by using a spray. If it’s still moist, wait. It’s better to underwater than overwater with mint.
Air circulation
Lastly, air circulation is important for mint plants that can be prone to mould if the air around them gets too stagnant. Open a window near my plants for a bit each day, just to get the air moving. If you don’t have that option, a small fan can help. Just be careful not to point it directly at the plants. You only want to circulate the air, so moisture doesn’t linger.
Caring for Your Indoor Mint Plants Indoors
Following the above steps will help you get your mint growing from seed and you’ll need to repot your mint into a bigger pot to give it space to continue to grow. A nice ceramic pot with good drainage will help, just be sure to plant the mint alone. As it grows, you’ll need to consider feeding your plant and pruning it to get the best growth.
Pruning
Pruning is important to help your mint grow bushy and full. Left to its own devices, mint can get pretty scraggly, and will look tall and skinny with just a few sad leaves. The trick is to snip back the tips of the stems once your plant gets to about 4 inches tall. This encourages the plant to grow more branches, which means more leaves.
Feeding your mint
This is not essential but consider giving your mint a light feeding every month or so with an organic fertilizer. Nothing too heavy, but this will help your mint to grow. Seaweed fertiliser is a nice natural option to feed your mint plant.
Harvesting and Using Fresh Indoor-Grown Mint
There’s nothing like plucking fresh mint leaves straight from your plant and adding them to your tea, salad, or even a mojito (if you’re feeling fancy). But just remember not to go overboard with your first harvest as it can take a plant ages to bounce back.
When harvesting mint, try to take just the top leaves and not the small leaves that are growing. This encourages the plant to keep growing and producing more leaves.
If you cut from the bottom or middle, you might stunt its growth. Snip a few sprigs at a time, enough for whatever you’re using it for, and leave the rest to keep growing. This is easily done when you grow your mint indoors too and is the best approach to take when using your fresh mint.
When it comes to storing fresh mint, if you grow it indoors just leave it growing as fresh mint wilts pretty quickly. If you’re not using it right away or cut too much, pop it in a glass of water, just like you would with flowers. It’ll stay fresh for a few days this way. You can also dry or freeze your mint for longer storage. Just hang the sprigs upside down in a dry, cool place, and in about a week, you’ll have dried mint leaves.
And don’t be afraid to experiment with your mint. Consider adding it to smoothies, homemade ice cream, and even bathwater. Mint is great for soothing tired muscles naturally. Not only is it easy to grow indoors, it’s a plant that will enhance so many moments at home from fragrance, to aesthetics, to wellness and recipes.
Troubleshooting Common Problems with Growing Mint Indoors
Sometimes not everything always goes smoothly when you’re growing mint indoors. Here are some common problems you may have.
Mint with Yellowing Leaves
One of the most common issues is yellowing leaves. This can mean your plant is getting too much water and it can be an early sign of root rot. If you feel the stem of your mint and it feels squishy you are probably overwatering your plant. Consider adding some fertiliser to your mint to help it balance back out, help it dry out and reduce your watering schedule. Consider popping your plant in a sunnier place for a while to help the soil dry out naturally.
Mint with Leggy growth
Another common problem is leggy growth. This means your mint is probably not getting enough light or you’re not pruning it enough. Adjust the light levels and started cut back the stems to help your mint fill out nicely.
Mint with curling leaves
If your mint leaves start curling check your watering routine and the light levels. Remember the top inch of soil should be dry before you water again. It can also be a sign that you have used too much fertiliser recently or that there is a nutrient imbalance. In general curling leaves show an imbalance in your plants environment and it is effectively sulking and curling up because it is unhappy.
Pests
One of the more frustrating things about indoor gardening is dealing with pests. You’d think that growing plants inside would protect them, but no. Always be sure to check the underneath of your mint plant leaves regularly as this is where infestations tend to start,
Spider mites are common pests in mint plants. If you see any of the signs if this pest, which include tiny webs or spots, grab a spray bottle with water and a drop of dish soap. Spray the leaves and wipe them down to get rid of the pests.
Conclusion
Learning how to grow mint from seed indoors is one of the most rewarding indoor gardening experiences, even with the common problems you can face. There’s something so satisfying about nurturing your plant from a tiny seed into a full-grown mint bush that you can harvest whenever you want. Whether you’re using it for cooking, making tea, or just enjoying the fresh scent, having your own supply of mint that you grew gives you a great feeling of accomplishment.
Now you know how to grow mint from seed indoors as a beginner, go for it! Create the right conditions, and don’t be afraid to make a few mistakes along the way. Gardening is all about learning from those little hiccups.

