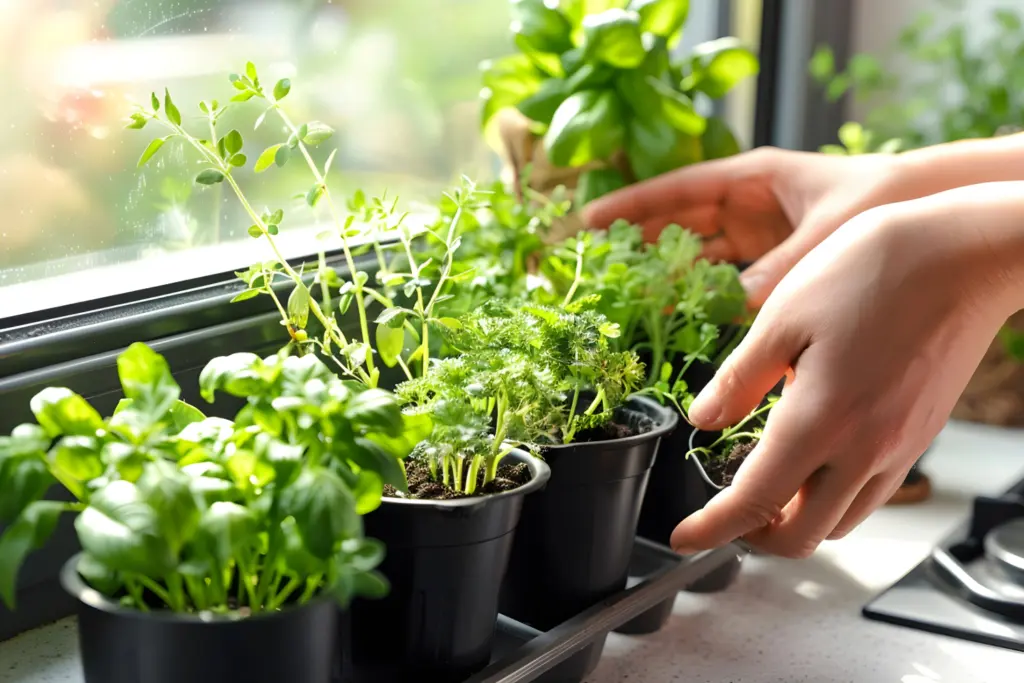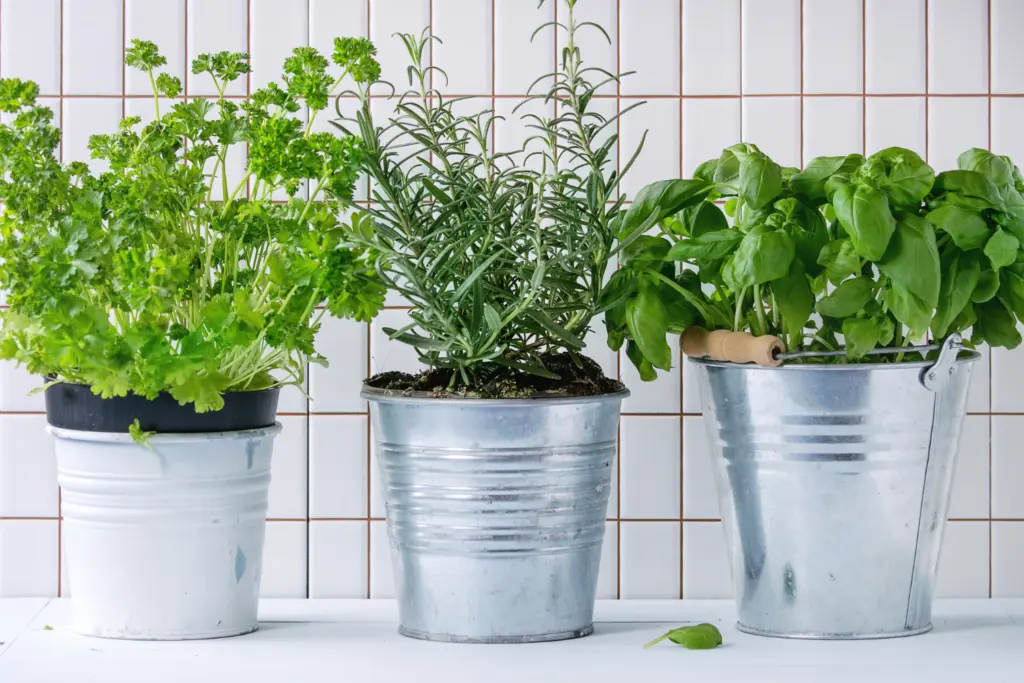
If you want fresh herbs within arm’s reach when whipping up dinner you need an indoor kitchen herb garden. Not only is a great way to add fresh ingredients to your food and add flavor to recipes, it’s money-saving and sustainable. The convenience and freshness of having herbs right there on your kitchen counter is unbeatable. That’s why you need to learn how to grow an indoor kitchen herb garden.
Whether your looking to make a move towards sustainable cooking or you just like the idea of having a fragrant herb garden on your kitchen, growing indoors is a great adventure. This guide will walk you through everything you need to know about growing herbs indoors in your kitchen including:
- Best herbs to grow in your indoor kitchen herb garden
- Containers with drainage
- Lighting
- Humidity
- How to harvest herbs without hurting herb growth
- Common problems
Why Grow an Indoor Kitchen Herb Garden?
You might be wondering, why bother growing an indoor kitchen herb garden when you can just buy herbs from the store? Well, let me tell you, once you experience the joy of snipping fresh rosemary right before tossing it into your roasted potatoes, you’ll never look back. There’s something so rewarding about it. Plus, fresh herbs taste way better than the stuff that’s been sitting in a plastic container for who knows how long. The flavors are brighter, the leaves are crisp, and the scent: it’s heavenly.
One of the best things about growing herbs indoors is the convenience. You don’t need a big garden or even a backyard. As long as you’ve got a sunny windowsill or a corner with decent light, you’re good to go. Plus, it’s incredibly satisfying to walk into your kitchen and see a mini herb garden thriving. It’s like having a bit of nature right in the middle of your home.
Growing an indoor kitchen herb garden is perfect for people living in apartments. And if you are worried about the light on your kitchen windowsill, which is often the best place to grow your indoor kitchen herb garden, you can always invest in an LED grow light. That means you can put your herb garden anywhere in your kitchen, as long as it’s near a power source, and still grow delicious herbs.
It’s also sustainable and reduces plastic waste. Growing your own herbs means you’re not contributing to all that plastic packaging. And honestly, nothing feels better than reducing waste, especially when it’s so simple to do. Plus, no more running out of cilantro when you’re halfway through making tacos.
Best Herbs to Grow in Your Indoor Kitchen Herb Garden
Some are easier to grow indoors than others, but here is a list of the best herbs to grow indoors, considering watering needs, light requirements, and what sorts of recipes you can use them for when cooking:
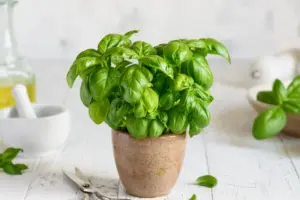
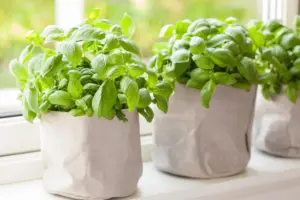
- Basil: Light: Bright, direct sunlight of at least 6 hours a day.
Watering: Keep the soil moist, but not soggy.
Uses: Ideal for Italian dishes, sauces, salads, and pesto.
- Mint (either Peppermint or Spearmint): Light: Indirect sunlight.
Watering: Keep the soil moist.
Uses: Refreshing addition to drinks, teas, desserts, and savory dishes.
- Thyme: Light: Full sunlight for 6-8 hours a day.
Watering: Allow soil to dry between waterings.
Uses: Great for roasting meats, soups, stews, and vegetables.
- Parsley: Light: Full sunlight 6 hours a day.
Watering: Water when the top inch of soil is dry.
Uses: Versatile garnish, great in salads, sauces, and seasoning.
- Cilantro: Light: Bright sunlight for 4- 6 hours a day.
Watering: Water when the soil starts to dry out.
Uses: Essential in Latin and Asian cuisines, perfect for salsas and curries.
- Chives: Light: Bright sunlight for 4-6 hours a day.
Watering: Keep the soil moist but not waterlogged.
Uses: Adds a mild onion flavor to soups, salads, and dips.
- Oregano: Light: Full sunlight for 6-8 hours a day.
Watering: Allow soil to dry out slightly between waterings.
Uses: Key herb in Italian, Mexican, and Greek dishes.
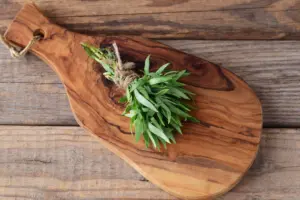
- Rosemary: Light: Full sunlight for 6-8 hours a day.
Watering: Let the soil dry between waterings.
Uses: Perfect for roasting meats, potatoes, and adding flavor to soups.
- Sage: Light: Full sunlight for 6-8 hours a day.
Watering: Let the soil dry out between waterings.
Uses: Ideal for savory dishes, poultry, and stuffing.
- Dill: Light: Full sunlight for 6-8 hours a day.
Watering: Water when the soil feels dry.
Uses: Excellent for pickling, salads, and fish dishes.
- Lemongrass: Light: Full sunlight for 6-8 hours a day.
Watering: Keep soil consistently moist.
Uses: Popular in Southeast Asian cuisine, especially soups and teas.
- Tarragon: Light: Bright, indirect light.
Watering: Keep the soil moist but not soaked.
Uses: Essential in French cooking, especially for sauces and fish.
- Bay Laurel (Bay Leaves): Light: Bright sunlight for 6-8 hours a day.
Watering: Let the top inch of soil dry before watering.
Uses: Adds depth to soups, stews, and braises.
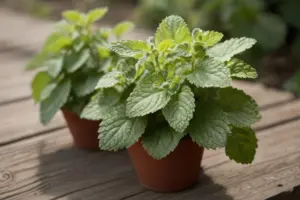
- Lemon Balm: Light: Bright, indirect light.
Watering: Water regularly but avoid waterlogging.
Uses: Great for teas, desserts, and salads with a hint of lemon flavor.
- Marjoram: Light: Full sunlight for 6-8 hours a day.
Watering: Let the soil dry between waterings.
Uses: Adds a mild, sweet flavor to meats, sauces, and vegetables.
- Lavender: Light: Bright sunlight for 6-8 hours a day.
Watering: Let the soil dry between waterings.
Uses: Lovely in baked goods, teas, and infusions.
Containers with Drainage
Make sure your pots have drainage. If you’ve got a container that doesn’t, you can always drill holes yourself (this is a great option if you want to repurpose a tin for instance). You want the water to flow through the soil; otherwise, your herbs will get waterlogged which may lead to root rot.
Terracotta pots are one option because they breathe and help keep the soil from getting too soggy. But they can dry out quickly, so you’ll need to keep an eye on the moisture levels. Self-watering pots are a bit more of an expensive option, but they make maintenance much easier.
For those of you with limited counter space, consider vertical planters or hanging pots. Just make sure whatever you use has a drainage plan.
Lighting
If you’ve got a sunny south-facing window that’s perfect for your herb garden, but not everyone is so lucky. If your kitchen doesn’t get much natural light, don’t worry! Artificial grow lights work and they’re easy to set up and use. Even in the dead of winter, your herbs will thrive.
One thing to keep in mind is rotating your plants if you grow them on a sunny windowsill. This helps prevent your herbs growing sideways to get more light, and ensures they grow straight.
Different herbs have different light needs so if you’re working with limited natural light, group your herbs based on their needs, so the high-light ones can enjoy the sun while the others are in the shade.
Humidity
Humidity is another thing to watch out for, especially if you live in a dry climate or have the heater blasting all winter. Optimal humidity for most herbs and spices that you’ll grow in an indoor kitchen herb garden is between 40 – 60 %. You can measure humidity in your kitchen using a hygrometer. If you feel your plants need more moisture a quick way to add moisture to the air is to mist your plants with water every few days.
Fertilizer
Fertilize your herbs every month or so. Use an organic fertilizer that’s safe for edible plants to really make a difference to how fast and lush your herbs grow. Be careful not to overdo it as too much fertilizer can burn your plants. About half the dose stated on the bottle is often enough when growing herbs indoors.
Pruning
You don’t want to consider pruning your herb garden until it gets to at least 4 inches tall and has more than one stem growing from the base. If you prune too soon, you can stunt the growth of your herbs. Once they get bigger, snipping your herbs encourages them to grow bushier and prevents them from getting leggy.
How to Harvest Herbs Without Hurting Herb Growth
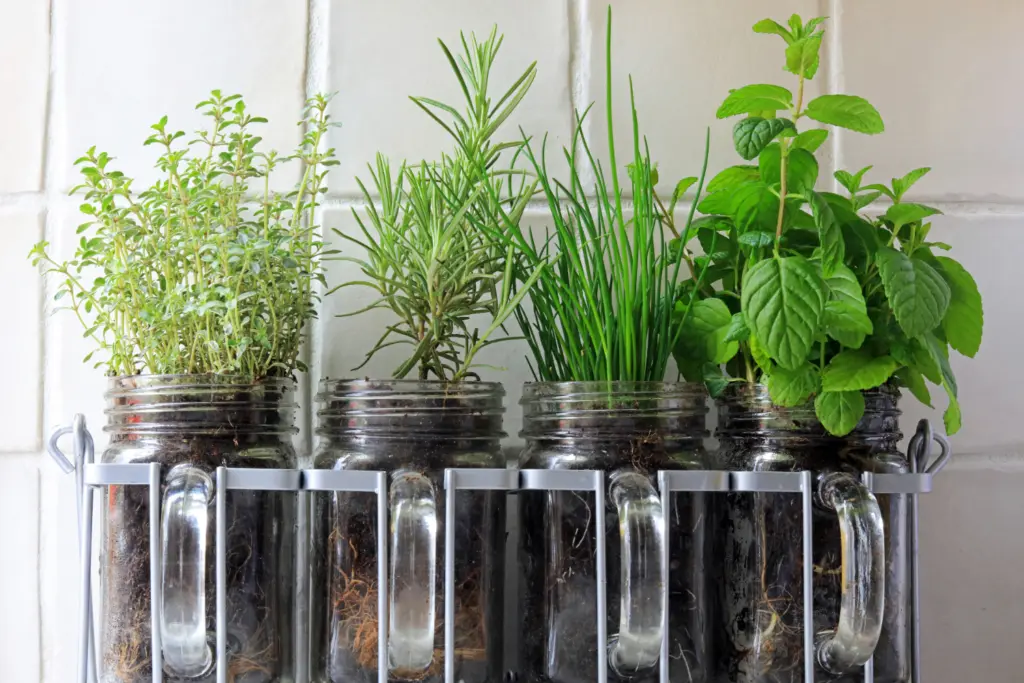
Harvesting herbs can be a little nerve-wracking when you first start. There’s a technique to it though, so you don’t need to worry. You don’t want to just pluck off random leaves from anywhere on your plant as this can stunt growth. The key is to pinch your leaves from the top.
For basil, for example, you want to find the spot where two smaller leaves are growing and cut right above them. This encourages the plant to branch out and grow even more. With thyme and rosemary, you’ll want to snip small sprigs from the outermost branches, leaving the central part of the plant intact. Mint can be harvested pretty aggressively because it grows like a weed in disguise. The more you harvest, the more it’ll grow. Cilantro also grows fast and can handle a decent trim without getting upset.
The best time to harvest your herbs is in the morning. The oils in the leaves are at their most potent before the day’s heat sets in. Plus, herbs are less likely to wilt if you cut them early in the day.
Storing Herbs if You Harvest Too Much
If you are wondering how to store your herbs after harvesting a bit much, you can freeze them. Freezing extra herbs in olive oil in cubes in an ice cube tray is an awesome way to have grab and go cooking solutions that add flavor to recipes. All you need to do is just chop up your herbs, mix with a little oil, and freeze in an ice cube tray.
Common Problems
Growing herbs indoors isn’t always smooth sailing. But with a little know-how, most issues can be fixed pretty easily.
Pests
One of the most common problems is pests. The good news is that aphids, spider mites, and other common herb pests can usually be dealt with naturally. Homemade insecticidal soap, which is a mix of a few drops of dish soap with water in a spray bottle that you give the herbs a good spritz with will often work. As you wipe your leaves down, be sure to get under the leaves, where the pests like to hide. Within a couple of days, plants are usually bug-free, and you don’t have to worry about using any harsh chemicals on herbs you plan to eat.
Yellow leaves
Yellowing leaves are another issue you might run into. A lot of the time it’s a watering problem. Either the plant is too dry, or it’s getting too much water. Check the soil and adjust your watering schedule accordingly. Herbs can also start yellowing if they’re not getting enough sunlight. So, if you notice yellow leaves try moving the plant to a brighter spot.
Mould
And then there’s mould. White, fuzzy mould growing in the soil around your herbs is pretty common in indoor gardens, especially if the air is humid. The easiest fix is to increase airflow. Using a small fan to circulate air around your herbs will help and you can remove the mould and add a bit of fresh potting mix.
Conclusion
Growing an indoor kitchen herb garden is one of the most rewarding little projects. It might take some trial and error, but once you get the hang of it nothing will beat the satisfaction of harvesting your own fresh herbs for dinner. Just remember to choose the right herbs for your space, give them enough light and water, and don’t be afraid to prune and harvest them regularly. Whether you’re a total beginner or a seasoned gardener, you can learn how to grow a thriving indoor kitchen herb garden.

