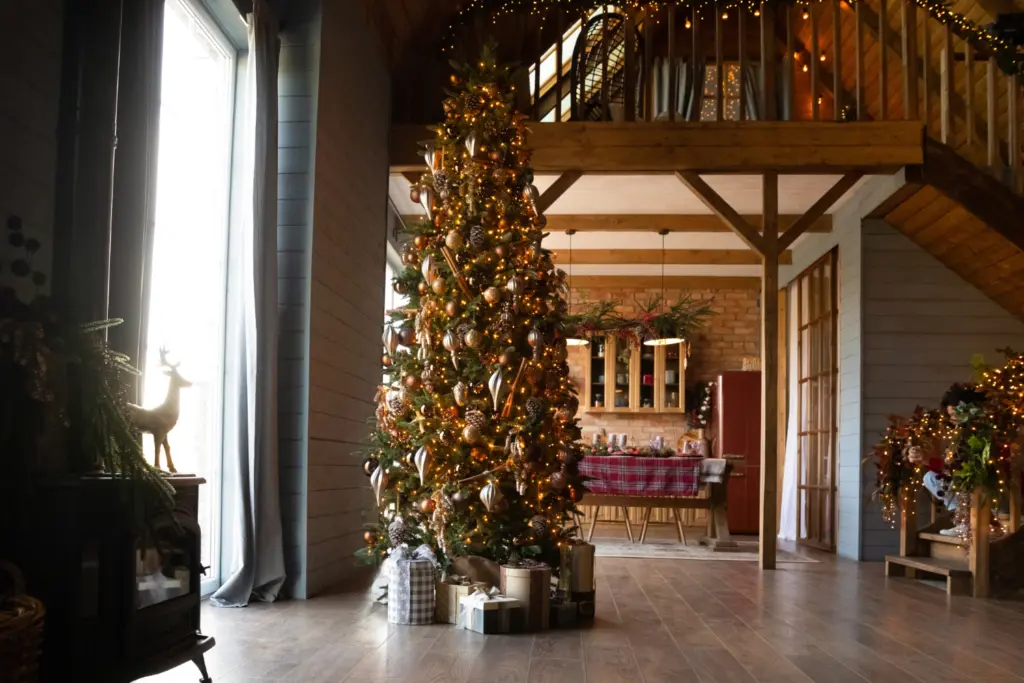
Ever noticed how some artificial Christmas trees look like they just walked off a movie set, full and lush? It’s not just the quality of the tree that get’s that look every time. It’s the fluffing. How you fluff and prepare those artificial tree branches makes a big difference to the overall look of your decorated Christmas tree. A well-fluffed tree is what gives it that lifelike appearance, filling your home with holiday cheer even before you’ve hung a single ornament.
Many people overlook this step, thinking, it’s artificial; it’s good to go. But that isn’t the case. Taking the time to fluff makes all the difference. It’s also one of those tasks that, once you start, you realize it’s just a bit therapeutic to do. So, if you’re ready to make your artificial tree look its best, this fluffing guide covers every step from setup, to storing it right so next year’s fluffing is a breeze.
- What is Fluffing a Christmas Tree?
- Why Fluffing Your Artificial Christmas Tree Matters
- What You Need to Fluff an Artificial Tree
- Step-by-Step Guide to Fluffing an Artificial Christmas Tree
- Top tips to fluff your artificial tree like a pro
- Mistakes When Fluffing an Artificial Tree
- How Often to Fluff Your Tree During the Season
- Storing Your Tree for Easy Fluffing Next Year
What is Fluffing a Christmas Tree?
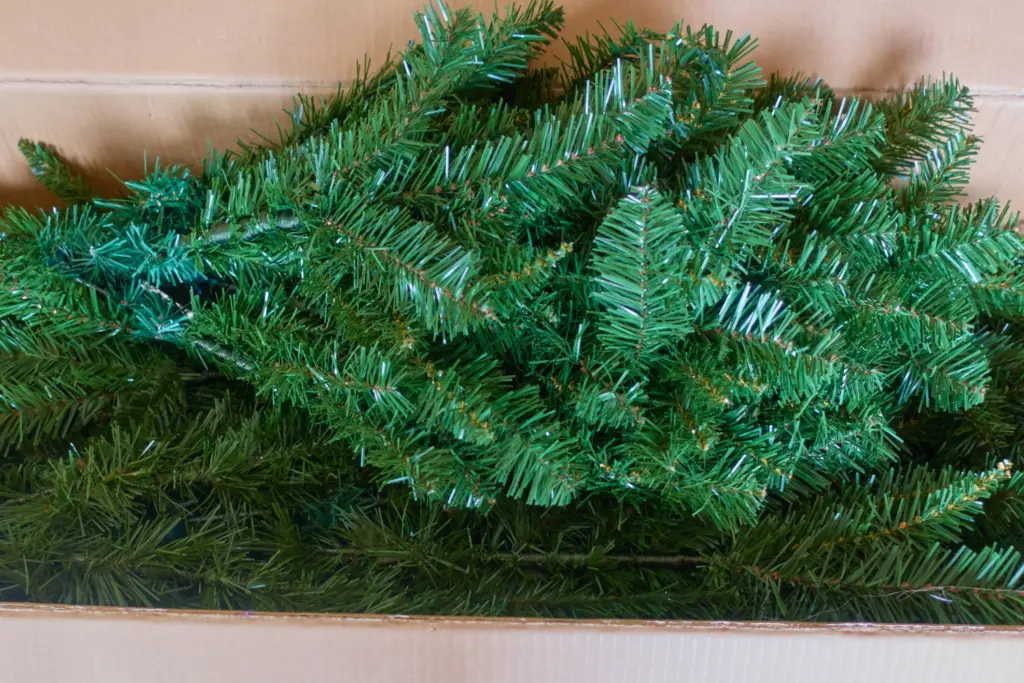
Fluffing a Christmas tree is the process of adjusting, shaping, and separating the branches of an artificial tree to give it a fuller, more natural look. When artificial trees are stored, their branches and needles get compressed and flattened. When you unpack the tree, it can look sparse or oddly shaped, with gaps. This makes it look fake and just a little bit sad.
By carefully spreading each branch and bending individual tips in different directions, you can create a tree that appears full and lush, with a more natural “bushy” look, almost like a real tree. This process can take a bit of time, especially if you’re working with a larger tree, but it’s worth it for the realistic, balanced appearance you get. Fluffing might seem like a small detail you can skip, but it can transform the look of your artificial tree from flat and sparse to full and festive.
Why Fluffing Your Artificial Christmas Tree Matters
Why bother fluffing an artificial Christmas tree in the first place? Isn’t one of the main benefits of having an artificial tree being able to just set it up and go? Well, yes and no. Artificial trees are definitely more convenient and cost-effective over time than real ones, but to make them look good, you’ve got to put a little work into it. No one wants a tree that looks like it’s just been yanked out of a box!
Don’t think the lights and ornaments will hide an unfluffed tree, because they won’t. You’ll end up with a tree that looks spindly, with gaps decorations can’t fix. Fluffing each branch makes a world of difference. It’s like setting the scene on a stage for the characters: your lights, baubles, and ribbon. Plus, a well-fluffed tree doesn’t just look good. It holds decorations better too which can mean fewer ornament casualties.
Fluffing also has this way of creating little nooks or dips in the branches. It’s perfect for nestling in ornaments without them sliding off or looking out of place. And honestly, once you’re in the fluffing mindset, it becomes kind of fun. It’s like sculpting your own little masterpiece. If you’re going for that wow factor this season, taking the time to fluff your tree is worth it.
What You Need to Fluff an Artificial Tree
You don’t need a lot when you learn how to fluff an artificial Christmas tree, but a few key items make the job so much easier and will give you that pro look. A good pair of gloves will save your hands. Artificial tree branches can be surprisingly scratchy, and making your hands uncomfortable just isn’t necessary.
A step stool or ladder, especially if you’ve got a taller tree is worth having to hand. Trying to reach those top branches without one just ends in frustration, and possibly a very lopsided-looking tree.
If your tree is pre-lit, it can help to have a small flashlight. You can use the flashlight to mimic the effect of the lights to see how they will look as you fluff and adjust branches. This step saves you plugging anything in.
Lastly, it’s a good idea to have storage bags or even zip ties handy if you’re dealing with multiple sections. That way you can keep each section fluffed just a little and tie them up so they don’t get squished in storage. It’s a small step, but it makes next year’s setup way easier.
Step-by-Step Guide to Fluffing an Artificial Christmas Tree
Here’s a breakdown of the typical steps involved in fluffing an artificial Christmas tree:
Step 1: Set Up the Tree Base
Start with a solid base. Make sure the tree is standing sturdy and secure as this job get’s a little fiddly and it is easy to knock your tree over as you shape it. Double-check that all the sections are properly connected and there is nothing left in your storage box.
Step 2: Fluff Branches Section by Section
Work from the bottom up. Going in sections keeps you organized and lets you see how each layer builds on the last. Separate each branch, bending them in all directions. By spreading the branches to create a fuller look. Your aim is to get your branches to look real and for your tree to look balanced. Working from the bottom up as you section allows you to create that fuller bottom look a fir tree has.
Step 3: Fluff the Tips and Shape Each Branch
Each branch has multiple tips, and it’s these tips that make the tree look full. Bend and shape each one in a different direction to cover any gaps. Aiming for a starburst shape, so no two branches are going the same way, is the best shaping technique. You’ll be surprised how much fuller the tree looks just by spreading the tips apart. For a more realistic appearance, angle some branches slightly upward or downward. This creates layers and adds depth to the tree, making it look fuller and more like a real evergreen.
Step 4: Adjust Branches and Fill Gaps
As you move up, you’ll likely spot gaps here and there. Adjust nearby branches to fill them in as best you can. You can even grab an extra sprig of greenery if there’s a big gap. Once happy with the overall shape, do a quick walk-around so you can see if you need to make any final adjustments.
And there you have it the steps to master how you fluff an artificial tree that’s ready for Christmas lights and decorations.
Top tips to fluff your artificial tree like a pro
Once you’ve got the basics down, there are a few extra tricks to make your tree look even more impressive. First, use tree fillers. Think ribbon, faux berries, or small decorative branches you can weave in. Ribbons work wonders as they add texture and color without overwhelming the tree.
As you decorate step back occasionally to spot areas that look sparse or unbalanced, then adjust nearby branches to fill in the spaces. Don’t just do this at the end. Ut may add a few more minutes on to your fluffing job, but it helps you balance as you go.
A well-lit tree can hide a lot of imperfections, so be generous. String them closer to the trunk for depth. You can even wrap the lights around each branch to create a full, glowing effect. It can really make your tree pop and is a great way to decorate if you want to style your artificial Christmas tree with minimalist décor.
Mistakes When Fluffing an Artificial Tree
One of the biggest mistakes when you first start learning how to fluff an artificial tree is to rush through the process. It’s easy to get excited and want to move right into decorating, but skipping over parts of the tree can leave you with an uneven look. You can end up with a tree that looks more like a poorly groomed shrub than the centerpiece of your holiday décor.
Forgetting the back of the tree is another common mistake. You may think there’s no point, especially if it is near a wall or in a corner, but it does make a difference. The branches near the wall some how make the tree look uneven, and it can up like you’re hiding part of your tree rather than intentionally positioning it. Also, if guests can walk around to see the back of the the tree, or if you have mirrors that reflect it, that half-fluffed back will show. Even a quick fluff of the inner branches in the back can make a difference, adding balance and making the tree look fuller.
A third mistake is bending branches the same way. It might seem quicker to move through each branch in a similar pattern, but doing this makes your tree look too uniform and unrealistic. No two branches on a real tree look exactly the same. So with each branch, try to vary the angle slightly to create a more organic feel. This not only adds visual depth but also gives the tree a more natural shape.
Lastly, don’t underestimate the power of stepping back and checking your work as you go. It’s easy to get tunnel vision and focus too closely on each individual branch, only to step back and realize the tree looks off-balance. Every few minutes, take a step back, look at the tree as a whole, and make adjustments. This is especially helpful with pre-lit trees, where the lights can highlight sparse areas.
If you avoid these mistakes your tree will not only look fantastic, but it will also make decorating so much easier.
How Often to Fluff Your Tree During the Season
Even after spending time carefully fluffing your artificial Christmas tree, you might notice that it starts to settle or lose its shape a little over the season. Ornaments can weigh branches down, and natural movements around the tree, whether from people, pets, or kids sneaking a peek at presents, can cause branches to shift or flatten. Don’t worry, a quick re-fluff here and there can keep your tree looking fresh and full all season.
A good go-to trick is to give the tree a once-over a day or two before any holiday gatherings. Just check for any branches that seem to have flattened out or gaps that might have opened up, and do a little reshaping where needed. This doesn’t have to be as in-depth as the initial fluffing, but a few adjustments can make it look as perfect as the day you set it up. Pay special attention to branches that hold heavier ornaments or lights, as these can pull branches down and create gaps.
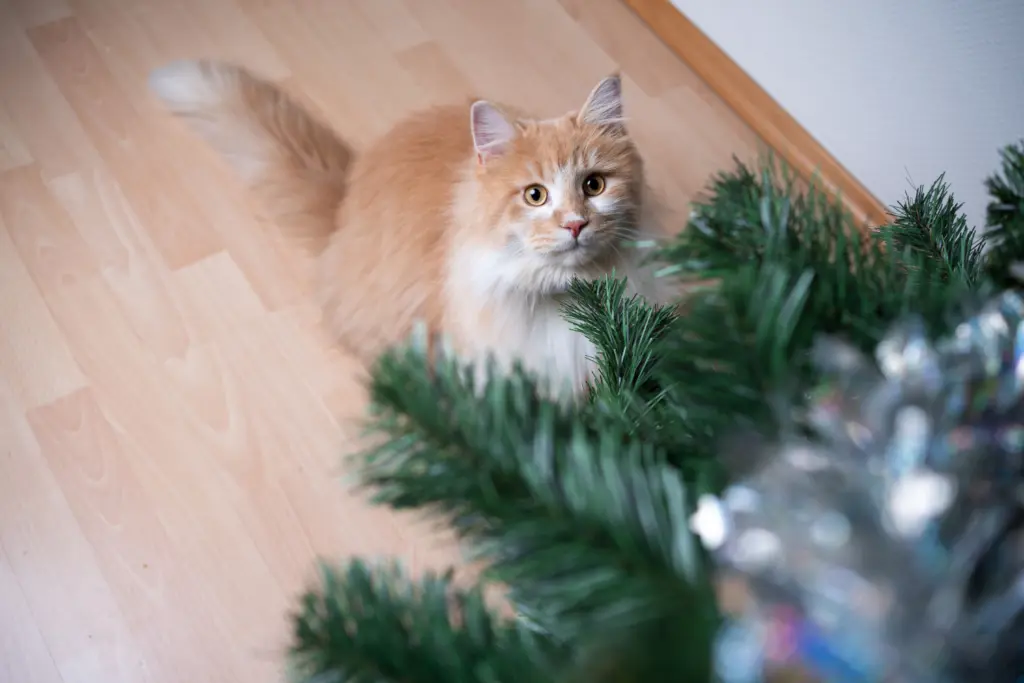
If you have pets or kids, you may need to re-fluff even more frequently. Cats, in particular, seem to think a well-fluffed tree is an invitation to climb or play. If you notice branches being pulled down by curious paws or little hands, consider adding some extra filler branches or ornaments that clip tightly to the tree. This can help maintain the tree’s shape, even with a bit of holiday chaos.
Storing Your Tree for Easy Fluffing Next Year
Proper storage helps make your tree setup next year as stress-free as possible. The better you pack away your tree, the easier it will be to fluff and shape next holiday season.
First, if you haven’t invested in a tree storage bag yet, it’s worth every penny. These bags are designed specifically for artificial trees, giving them a bit of extra space and protecting the branches from being crushed. If you’re sticking with the original box, though, try not to force the tree sections in too tightly. Even lightly fluffing each branch before storing can help them retain their shape better. Tie off each section loosely with zip ties, keeping the branches from clumping together too much but allowing enough flexibility to fit in the storage bag.
Another trick is to store each section separately and label it clearly. This way, next season you’ll know exactly which part goes where, saving you the headache of guessing or reassembling. For pre-lit trees, take an extra minute to check the light connections before storing. Nothing’s worse than discovering a tangled mess of lights or a burnt-out bulb just as you’re setting up. Double-check that each section’s lights are securely wound and there are no twisted or overly stretched cords. This little bit of care makes next season’s fluffing faster and a whole lot easier.
Conclusion
Fluffing an artificial Christmas tree might take some time, but it’s well worth the effort for a beautifully full, festive look that lasts all season. By taking the time to fluff each branch and shape every tip, you’ll create a realistic tree that’s perfect for showcasing your holiday decorations. So gather your gloves, a little patience, and get ready to transform your artificial Christmas tree into a masterpiece by learning how to fluff like a pro.