Imagine growing a herb that can relive stress, while increasing memory and concentration. According to aromatherapy practices, that is exactly the power that rosemary has. A herb that has somewhat ancient origins, it’s a herb with benefits. Growing rosemary from seeds indoors is a great way to introduce a versatile, fragrant, and tasty herb into your home, whether you choose to grow it as part of a kitchen herb garden or on its own.
As a beginner or a seasoned herb growing enthusiast you’ll find rosemary a little tricky to grow from seed. Some herbs are easier to grow from seed, so if you are looking for an easier option perhaps consider basil. Whether it’s waiting ages for the shoots to break through the soil, or navigating the challenge of finding the right spot to for your herb to thrive, this guide has all the information you need to successfully grow your own rosemary plant from seed. Skip ahead to the different sections depending on where you are in your rosemary growing journey.
- Why Grow Rosemary Indoors?
- How to Choose the Right Seeds for Growing Rosemary
- Preparing to Plant Rosemary Seeds Indoors
- Step-by-Step Guide to Sowing Rosemary Seeds Indoors
- The Ideal Growing Environment for Indoor Rosemary
- Watering and Fertilizing Indoor Rosemary Plants
- Pruning and Harvesting Indoor Rosemary
- Problems When Growing Rosemary Indoors
Why Grow Rosemary Indoors?
There are many reasons to grow rosemary indoors. The first reason is the beautiful scent, which smells like an incredible mix of pine and mint that will make your kitchen smell incredible.
Secondly, having fresh herbs to cook with all year round is convenient, budget friendly, and a way to sustainably add flavor to your recipes.
Thirdly, you have the ability to control the growing environment of your rosemary indoors, which removes some of the challenges of trying to grow this infamously finnicky plant outdoors. Being able to make adjustments to water, lighting, heat, and humidity combined with seeing more of your plant, usually mean its easier to grow.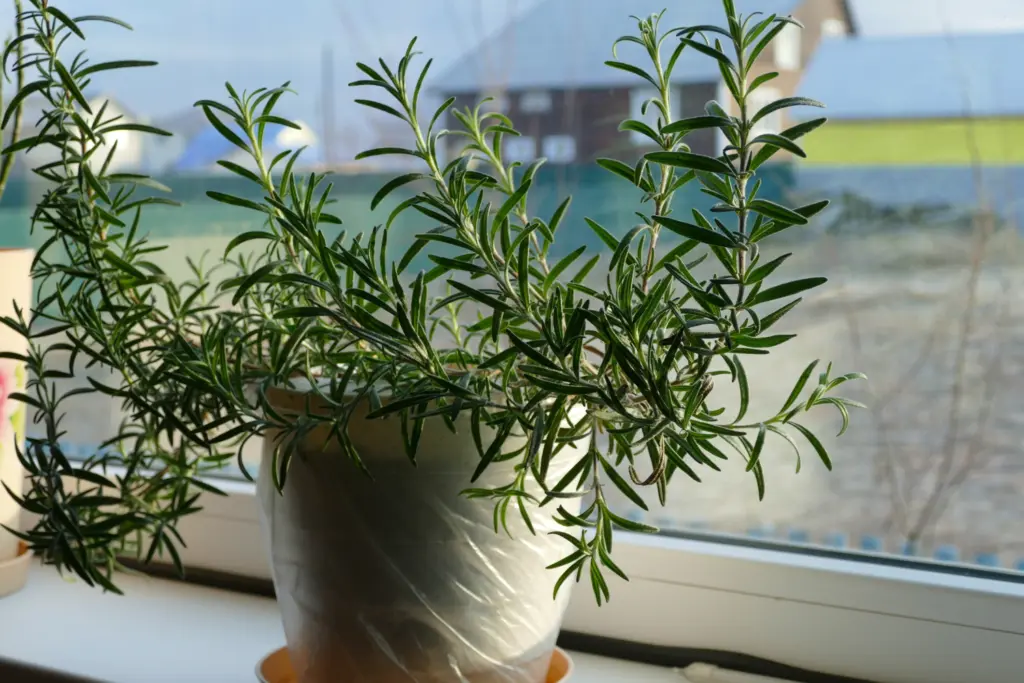
How to Choose the Right Seeds for Growing Rosemary
When you decide to invest your time into growing rosemary from seed indoors you want to give yourself the best chance of success. That comes from having good seeds for your plant to grow from. Buying your seed from reputable suppliers who sell non-GMO seeds will give you the best chances of success when growing rosemary indoors.
Best varieties of rosemary to grow indoors
There are a few different varieties of rosemary you can grow indoors. Here is a list of a few favorite varieties that grow well indoors and have a great flavor for cooking. Afterall, pinching your herbs to use in recipes is one of the great benefits of growing indoors:
- Tuscan blue: This upright and hardy plant can grow quite big even indoors.
- Salem: Milder less acidic taste, perfect for herbal tea recipes.
- Arp: Handles cooler indoor temperatures well and manages draughty locations better than other varieties.
- Common rosemary: Perfect choice for classic rosemary flavors.
Preparing to Plant Rosemary Seeds Indoors
Before you plant your rosemary seeds you want to make sure you have everything you need. You also need to make sure you follow a couple of easy preparation steps to make sure you give your rosemary seeds the best chance at germination.
What do you need for growing rosemary seeds indoors?
You need the following items for growing rosemary seeds indoors:
- Containers: Choose pots with drainage holes
- Seeds
- Potting mix
- A grow light if you don’t have a sunny spot
- A heat mat if you don’t have a warm place
But before we jump right into our step-by-step potting guide here are a few things you need to know before you start.
Containers
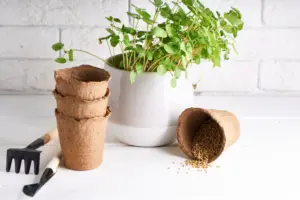
You can use small pots, seed trays, or even those little biodegradable pots to start your rosemary seeds. The container you use has have good drainage. Rosemary hates wet feet. If the roots sit in water they will begin to rot and your rosemary will get brown tips as it can’t take up water through rotting roots.
The Best Potting Soil for Rosemary
You can’t just use any old potting mix for this herb. Rosemary needs well-draining, sandy soil. If your mix is too dense, the roots won’t get enough air, and your plant will suffer. You can mix a standard potting soil with some perlite or coarse sand to help with drainage. It’s a bit of extra work, but it’s worth it.
Pre-soaking your seeds
Pre-soaking your rosemary seeds is a step lots of beginner gardeners overlook. Rosemary seeds have a tough outer shell, so soaking them in warm water for a few hours before planting helps soften them up and speeds up germination. It’s a small step, but it can make a big difference. Soaking tends to improve your success rate.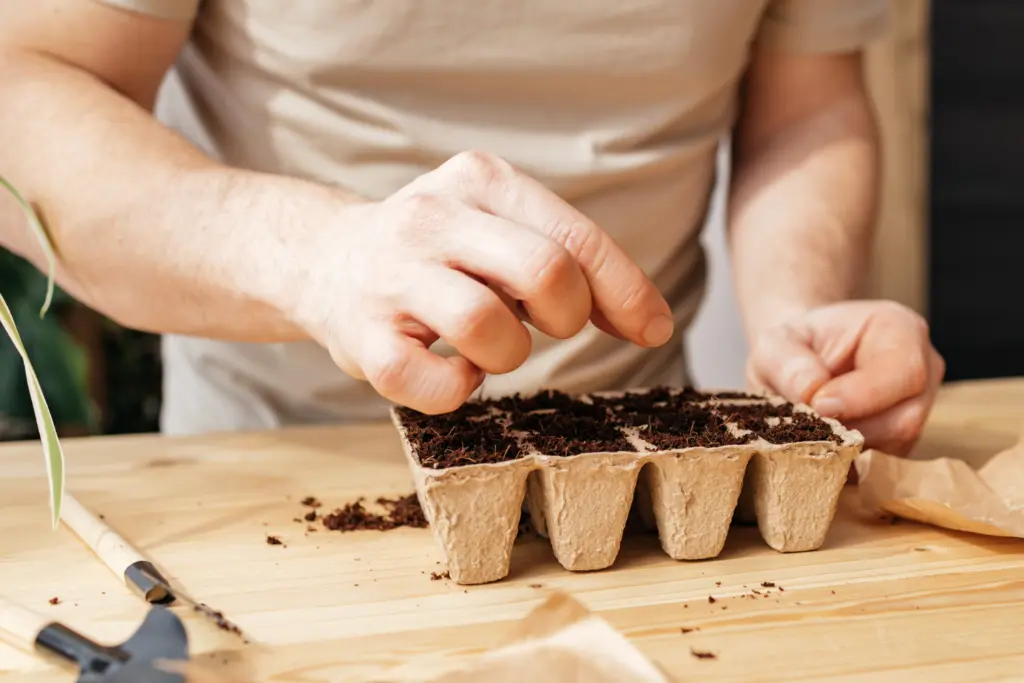
Step-by-Step Guide to Sowing Rosemary Seeds Indoors
Sowing rosemary seeds indoors is easy if you follow our step-by-step process. But a word of warning about germination first.
Rosemary Seed Germination: Be Patient
Rosemary seeds are notoriously slow to germinate. The average time between planting and your seed poking it’s head up from the soil is 15 – 25 days in warm soil temperatures of 65F – 70F (17C – 21C). They also have a low success rate, but don’t be disheartened just be sure to sow more seeds than you need to account for this.
You need to be patient and not get tempted to start frantically watering or adjusting your surroundings to make your seeds grow. That’s hard to resist as a new and eager gardener, it’s tricky even for a seasoned gardener, but you must be patient. You won’t know exactly when or if your seed will show itself, but it’s exciting to experience that thrill when they do. It’s one of the best feelings you experience as a gardener growing rosemary from seeds indoors.
Step 1: Pre-soak and pot check
Get some warm water and pour it into a container to a height of about an inch over the top of your seeds. Pre-soak your rosemary seeds for a couple of hours.
Get your pot out and make sure you have drainage holes in the bottom. If you are using a ceramic pot, you’ll be able to carefully add holes if you find there aren’t any in the bottom. Add a few stones to the bottom of your pot to a depth of about an inch. This is to help your drainage.
Step 2: Add the Soil
Mix in some perlite or coarse sand into your potting soil to help with aeration. This will ensure your soil doesn’t compact and suffocate your soil. Add your soil into the pot leaving about 1 ½ to 2 inches at the top. Don’t get tempted to push it down in the pot, level gently.
Step 3: Sow the Seeds
Rosemary seeds are tiny and need light for germination so don’t go burying them too deep. Aim to sow them about a quarter inch deep, and lightly cover them with soil. You can space them about an inch apart. Do not push your seed down firmly.
Use a larger container to plant your rosemary and sow more than you want. As rosemary seeds have a low germination rate, it’s better to overplant and thin out later if all your seeds germinate.
Step 4: Water Gently
After you’ve sown the seeds, give them a good misting with a spray bottle. You want the soil to be damp but not waterlogged. It’s easy to overwater, especially with tiny seeds like rosemary. Stick to misting and keep the soil moist (but not soaked).
Step 5: Keep Them Warm and In the Light
Rosemary seeds need warmth to germinate, so place your container in a warm spot, like near a sunny window or on top of the fridge. If your home is on the cooler side, consider using a seedling heat mat.
They also need full sunlight to germinate which is why you don’t place them in the soil too deeply. If you don’t have a sunny spot with 6 or more hours of good sunlight a day, an LED spectrum grow light will help your seeds get the light they need to germinate.
Step 6: Watch for Sprouts
Germination can take up to 28 days, sometimes even longer. It’s a slow process, so keep the soil moist and be patient.
The Ideal Growing Environment for Indoor Rosemary
Now that you’ve got your rosemary seeds sprouting, it’s time to create the best possible environment to grow healthy, bushy rosemary plants. Rosemary are not fast growing herb plants, and they can take 6 – 12 months to reach maturity. The plus of mastering how to grow a rosemary plant indoors is that you can have your plant for up to 10 years!
Best Light Conditions
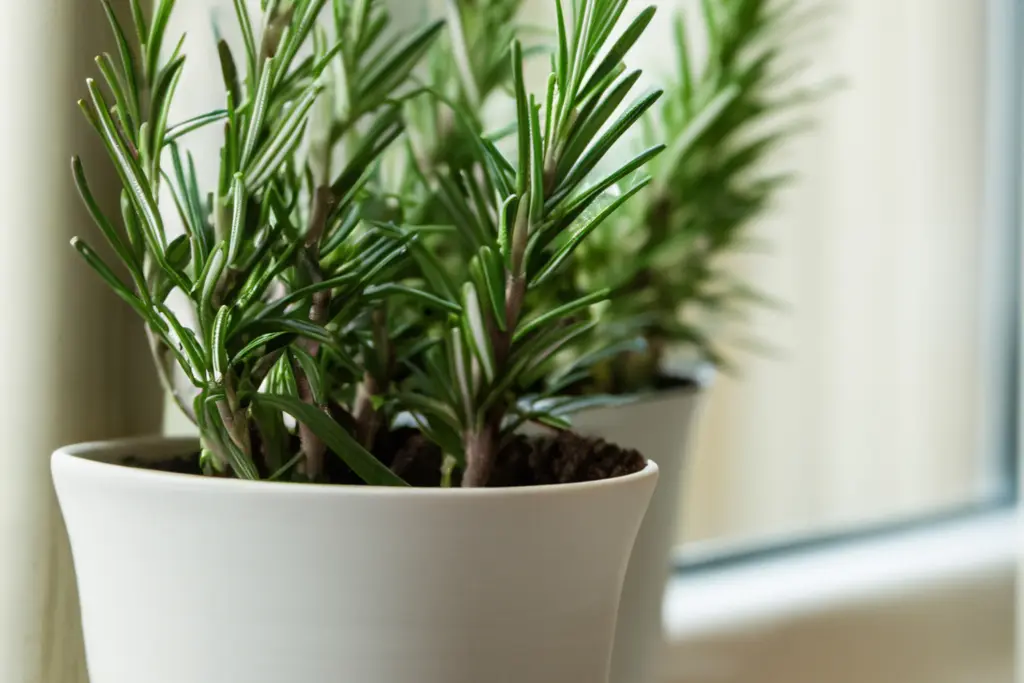
Rosemary is a sun lover. If you don’t give it enough light, your plant will grow leggy, pale, and weak. A south-facing window that gets 6-8 hours of direct sunlight a day is best for your rosemary plant.
If you don’t have a bright window, don’t worry. You can use grow lights instead. Position the lights are positioned about 6 inches above the plant to give it the optimum level of light to thrive.
Temperature and Humidity Needs
Rosemary likes it warm at between 65-75°F. If your home gets chilly in the winter consider moving your plant to a warmer spot or using a small space heater nearby. Just be careful not to place it too close, or you’ll dry out the leaves.
Rosemary likes humidity levels of between 45-55%. If the air gets too dry the leaves can become brown and crispy at the tips. Misting the leaves is a perfect way to keep your rosemary humid, plus the plant actually prefers to have leaves which are moist. This will help bring out the flavor when you harvest.
Air Circulation Is Key
Good air circulation is important for rosemary. Without it, you can end up with mould or mildew on the soil surface. If you notice a musty smell or see any white fuzz, you’ve got mould. As rosemary is tolerant to a slight draught you can use a small fan to keep the air moving around your plants. It doesn’t have to be anything fancy, a basic desk fan on the lowest setting does the trick.
Watering and Fertilizing Indoor Rosemary Plants
Rosemary doesn’t like its roots sitting in water, but it also doesn’t want to be bone-dry. It’s a bit like walking a tightrope, but once you get the hang of it, it becomes second nature. It likes moist leaves and dry roots.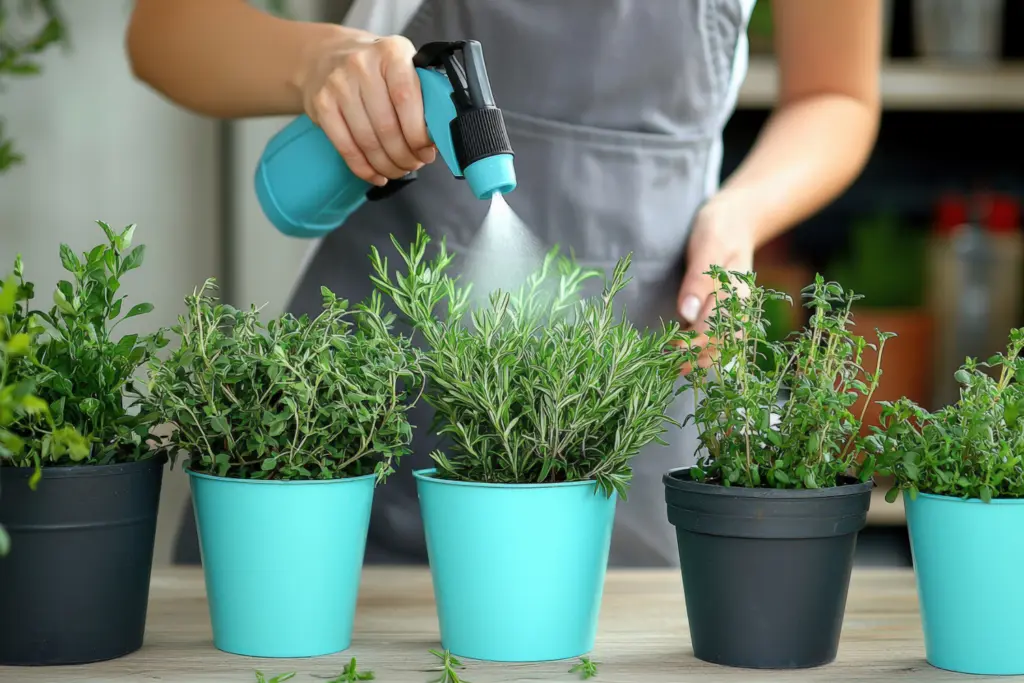
How Often to Water
In the first two weeks of planting your rosemary seeds you’ll water every couple of days, but when your seed germinates and sprouts, that changes.
With rosemary, you want the top inch of soil to dry out before watering again. As a general rule of thumb you water rosemary 1 to 2 times a week. Use the finger test before you water. Simply stick your finger into the soil up to the first knuckle. If it feels dry, it’s time to water. If it’s still damp, wait a couple of days.
How to water your rosemary plant
Do not pour a large amount of water onto your rosemary plant as this will be too much water and you run the risk of over watering. Over watering is one of the most common reasons for your rosemary plant dying. The best way to water your rosemary plant is to lightly mist the leaves and the soil.
Fertilizing Tips
When it comes to fertilizer, less is more. If you choose to fertilise your rosemary, use a balanced, organic fertilizer every 4-6 weeks. Fish emulsion or seaweed-based liquid fertilizer is a gentle option that seems to give the plant just the right boost without overwhelming it.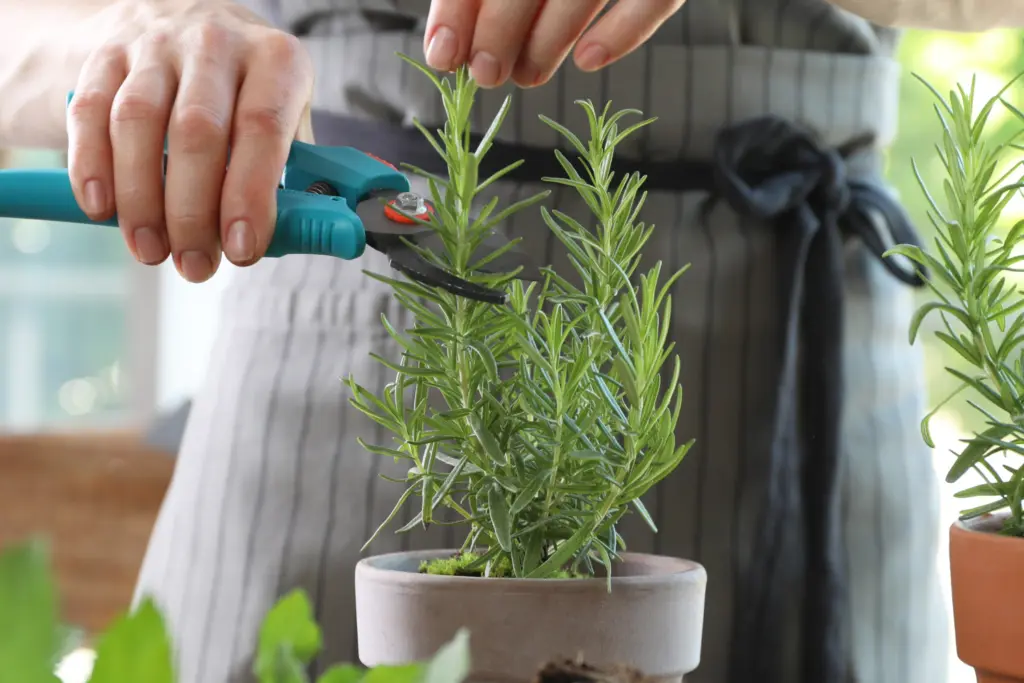
Pruning and Harvesting Indoor Rosemary
Pruning and harvesting rosemary isn’t something you can consider until your plant is thriving. You want your rosemary to be healthy and flavorful so you may have to wait at least 100 days from the time your seed first sprouts. Your rosemary branches need to be at least 20 cm long.
Pruning and harvesting indoor rosemary is about shaping the plant and keeping it healthy, rather than randomly hacking off bits to cook with. So, let’s dive into how to prune and harvest rosemary like a pro.
Why Prune Your Rosemary Plant?
Pruning helps the plant focus its energy, encourages new growth, and keeps it from becoming too woody. Rosemary can get leggy if you don’t trim it regularly. You want your plant to be bushy and full, not tall and sparse. A little bit of pruning goes a long way in keeping your rosemary looking lush and healthy.
Prune your rosemary back to the main stem. This avoids any stumps dying off and becoming unsightly. It also helps you to keep your rosemary a nice shape, which is important for most people growing indoors as part of a herb garden. Just to sure to never cut off any woody growth that doesn’t have fresh growth with it as this can upset your rosemary and cause it to die back.
How to Prune Rosemary the Right Way
When it comes to pruning, there’s a bit of an art to it. You don’t want to just hack away at your plant. I usually start by taking a good look at the shape of the rosemary. You want to aim for a nice, rounded form. If there are
Branches that stick out awkwardly are the ones you want to prune to give your herb a nice rounded shape. Prune you r rosemary with a clean cut to prevent any infections in the stem. Snip off about 2-3 inches from the top of each stem, cutting just above a set of leaves. This encourages the plant to branch out and become fuller.
This plant prefers to be pruned in the spring and summer months. Avoid pruning in the winter, although the impact of the seasons on its growth is reduced in the stable indoor growing environment.
Harvesting Tips
You can start snipping sprigs once your plant is about 6-8 inches tall. It’s best to harvest in the late morning, after the plant has had a little light. Cut from the tips of the branches to help keep the plant’s shape. Plus, the newer growth at the tips is the most flavorful.
Problems When Growing Rosemary Indoors
No matter how carefully you tend to your rosemary plant, things may go wrong at some point. Most issues are fixable if you catch them early. Here are some common problems you might encounter when growing rosemary from seeds indoors and what to do about them.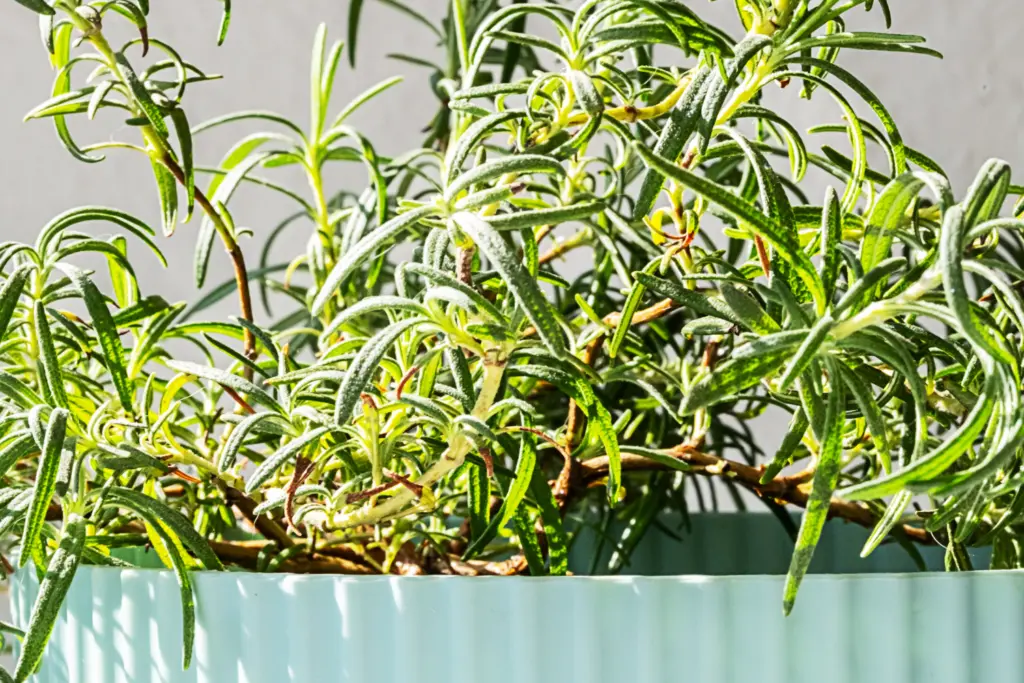
Problem #1: Yellowing Leaves
If your rosemary’s leaves are turning yellow, it’s usually a sign of overwatering. Remember rosemary actually prefers its soil on the dry side. Yellow leaves often mean the roots are drowning. Let the soil dry out completely before you water again, and make sure your pot has proper drainage.
Another potential cause is a nutrient deficiency, especially if you haven’t fertilized in a while. In that case, try giving your plant a dose of balanced, organic fertilizer. A rosemary in need of nutrients will often perk up within a week after a good feeding.
Problem #2: Leggy Growth
Leggy rosemary plants are usually not getting enough light. If your plant is stretching out and becoming spindly, it’s likely sunlight deficient. Moving the plant to a brighter spot or supplementing light with a grow light makes a huge difference.
If your plant is already leggy, prune back the long stems to encourage bushier growth. It might look a little bare after pruning, but give it a couple of weeks, and it should bounce back with fuller, healthier foliage.
Problem #3: Pests
Even indoors, rosemary plants aren’t immune to pests. Spider mites and aphids are amongst the most common rosemary pests. Spider mites give leaves this dusty, speckled look, and you’ll notice fine webs when you look closely.
To get rid of spider mites, use a mixture of water and neem oil. Just spray the affected areas every few days until the pests are gone. For aphids, a strong blast of water usually does the trick. Just be gentle as too much force can damage the delicate leaves.
Conclusion
Growing rosemary from seeds indoors needs patience. Rosemary is a slow grower, and it can be a little finicky at times. But with the right care, good light, proper watering, and a bit of pruning, you’ll have a thriving plant. With it’s rustic looking leaves and fragrant smell a rosemary plant adds character and charm to your home.
Whether you’re snipping off fresh sprigs for your roast chicken or simply enjoying the smell of the leaves when you brush past them, it’s hard not to feel a sense of accomplishment. So, start today and get growing rosemary from seeds indoors.


